The 350Z turns 15 this year, and if you’ve got one of the early models, you might be thinking the interior and seat upholstery is about due for a refreshing. One option is a set of slip-on seat covers from Ebay or an auto parts store, but those usually fit terribly and look cheap. At the opposite end of the spectrum, a reputable professional upholstery shop can usually replicate the stock appearance of your original seats with new upholstery, but you’ll be spending quite a bit, usually upwards of a thousand bucks. We’re going to show you how to do it for less than half of that!
My 2006 350Z Enthusiast came with manual cloth seats without side airbags. The passenger and driver’s seat have some minor differences besides the raised section between the driver’s legs. The driver’s seat has two knobs that independently raise/lower the front and back of the bottom seat cushion. The passenger seat has an additional tilt release lever in the center of the seat back.
While other models come with power seats and side airbags, these instructions will work for them as well. Just follow the 350Z Factory Service Manual for removal and installation instructions.
New Seat Covers: The leather seat covers came from NICOclub sponsor Interior Innovations. They took my custom specifications and had the covers produced overseas. The covers were shipped directly to my home. Quality is first-rate and suitable for the professional installer. That said, no instructions were included in the packaging. Hopefully, this write-up will suffice for our Z’s.
Pricing was far more reasonable than expected, there were several different custom options, and they offer other materials besides leather… One could replicate the factory covers, or go with a much more custom design, such as I did.
Interior Innovations claims their covers are made to OEM specifications, to ensure proper fit. They made sure to verify my year, make, model, and options for an exact fit. To this end they succeeded (with one minor issue that I will detail later).
While several suppliers design their covers to be installed over your existing covers without removing the seats, these covers are professional quality, and are really needed for the deeply bolstered seats we have in our Z’s.
Tools and Supplies Required: Besides the usual shop tools, you will need a pair of hog ring pliers and a supply of rings. These can be purchased at a Tractor Supply or Ace Hardware. You may also want some 4” cable ties. If you are going to use cable ties, you may want a pair of forceps from Harbor Freight to help dress the ties in close quarters. You may also need some 3M Yellow Super Weatherstrip and Gasket Adhesive to repair any damage you find in the foam rubber cushions.

I would also recommend a digital camera or smart phone to take plenty of pictures during the disassembly process.
Seat Removal: Tilt the seat backs forward and remove the headrests. Move the seat forward to gain access to the rear mount bolts. The bolts are covered with plastic buttons, which you can pop off with a screwdriver. Use a 14mm socket to remove these bolts. The FSM says these bolts should be torqued 25-40 ft-lbs, but I’ve always found them torqued to the high limit or more at the factory. You may need a breaker bar to break these bolts free.
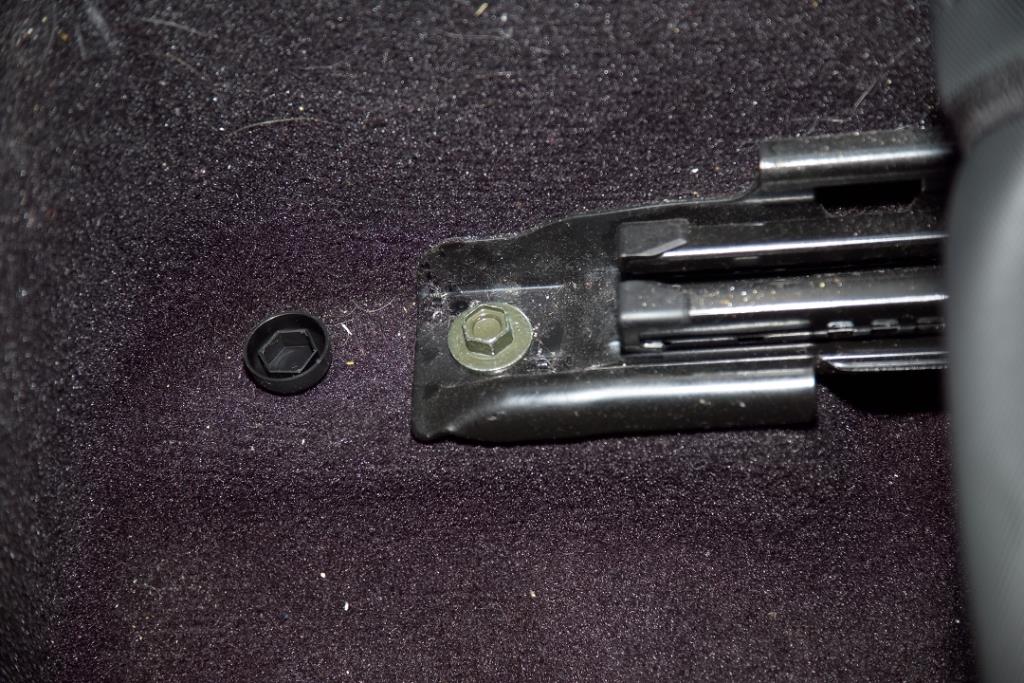
Slide the seat to the rear to expose the front mount bolts and remove them. The seat mounts also have a pin to hold the seat in position. Lift the seat about 3 inches to release the pin and then tilt the seat rearward to gain access to the wiring.
Of particular note, if you have side airbags, disconnect the battery and wait 3 minutes before disconnecting the wiring on the bottom of the seats. Inadvertently firing the airbags can ruin your installation – and your whole darn day. Wiring connects the seat to the car and varies depending on which options you have. Disconnect the plugs and snip any cable ties as required. Tilt the top of the seat towards the door and lift the seat out (this is easier with a helper – while the seats aren’t terribly heavy, they’re awkward).
Take a break, and we’ll start on the disassembly next!
Welcome back – Let’s start taking things apart (and don’t forget to take pictures, and put your hardware in a container so you don’t lose it!)
Seat Disassembly: Tilt the seat backs to the aft most position. Place the seats face down to expose the bottom. There is a flap that wraps around a bar at the rear of the seat bottom and is attached with Velcro. Free the flap.
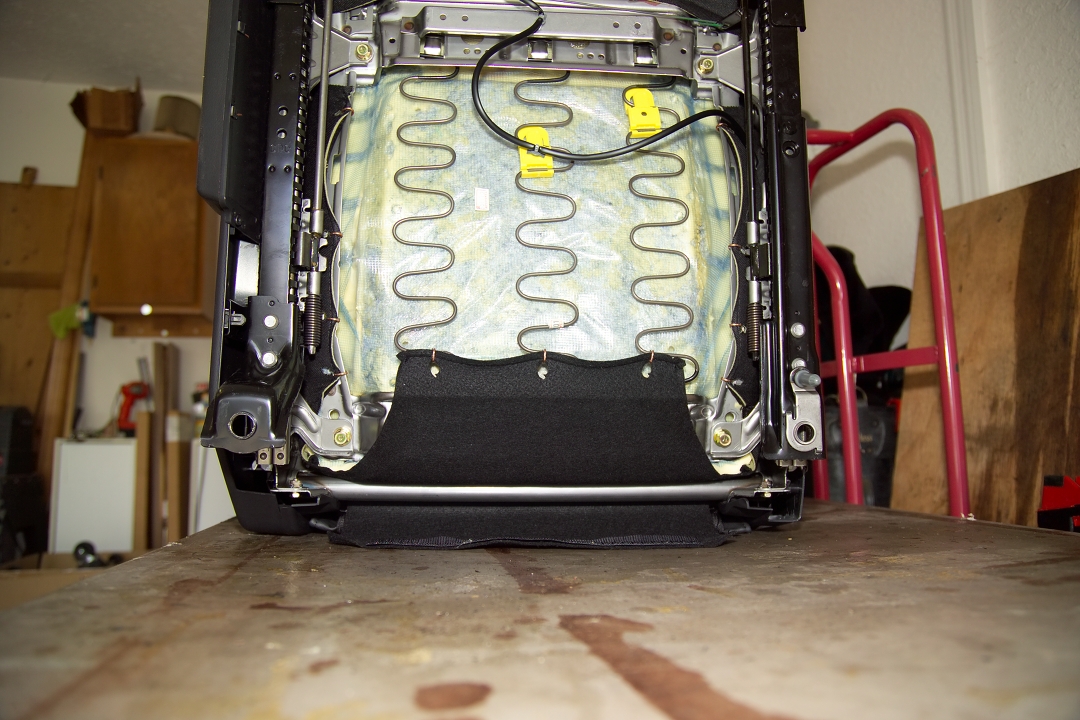

On the driver’s seat bottom there is a bracket holding the wire connectors that accommodates the tilt mechanism. Remove three screws holding the bracket.
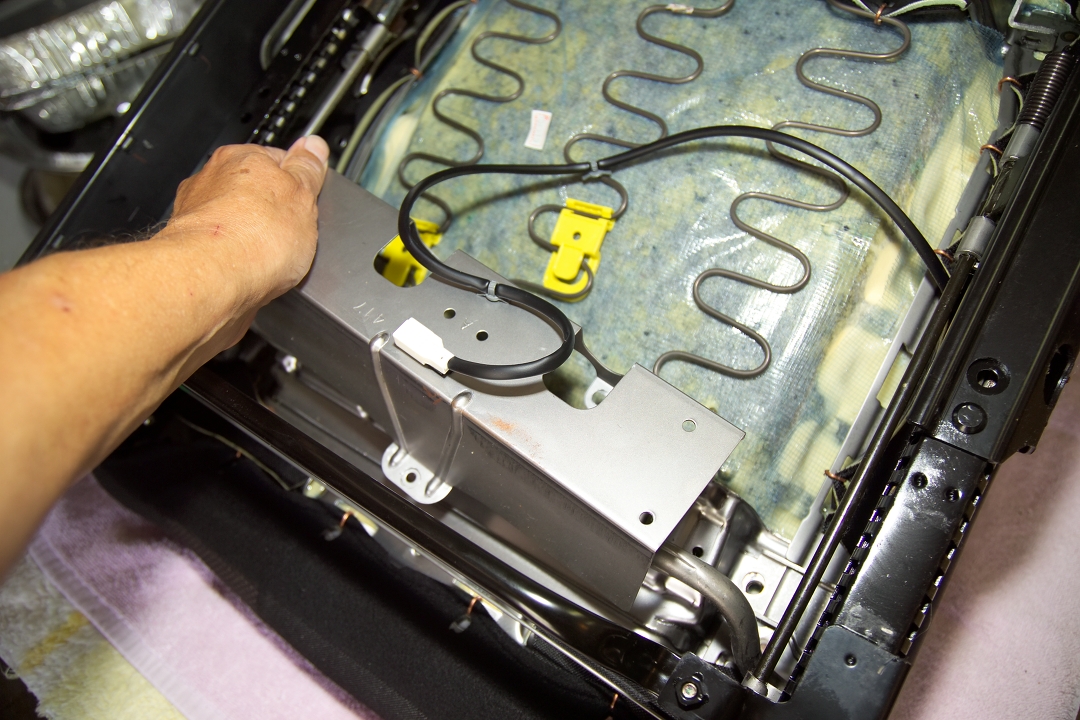
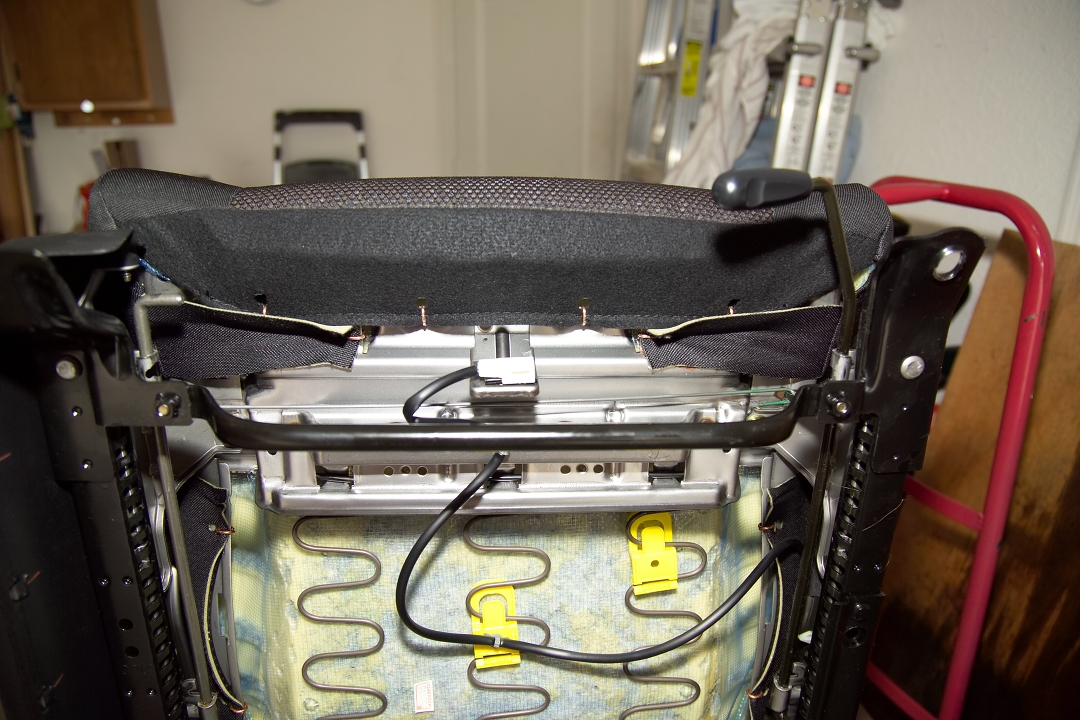
Remove the cable ties holding the wiring to the seat bottom.
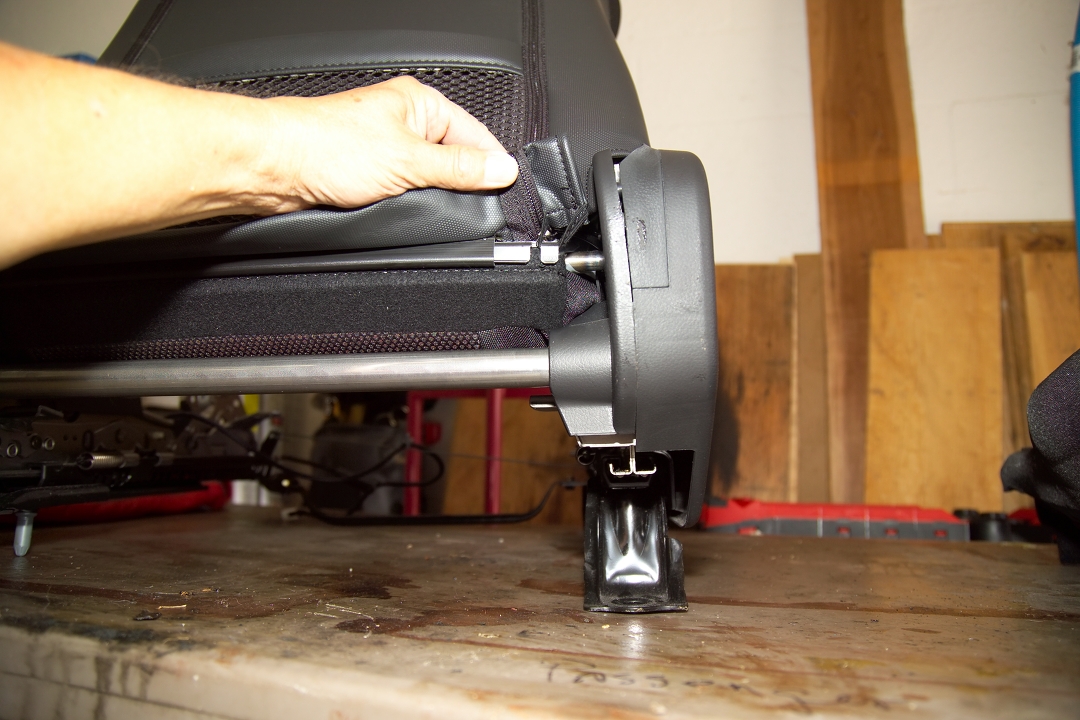
Remove 4 each 12mm bolts holding the bottom seat cushion to the outer frame. Turn the seat over and remove the cushion. Tilt the seat back all the way forward. The bottom front and back portions of the seat back cover are connected by interlocking U-channels. Squeeze the front and back portions together to free the U-channels. Un-zip the zippers.
Now’s a good time to take a break, so when we return we’ll start on the passenger seat disassembly!
Alright, let’s get back to some disassembly – On the passenger seat, lift the auxiliary release handle and remove two screws. Lift the back portion of the cover and dress the release assembly back through the cover.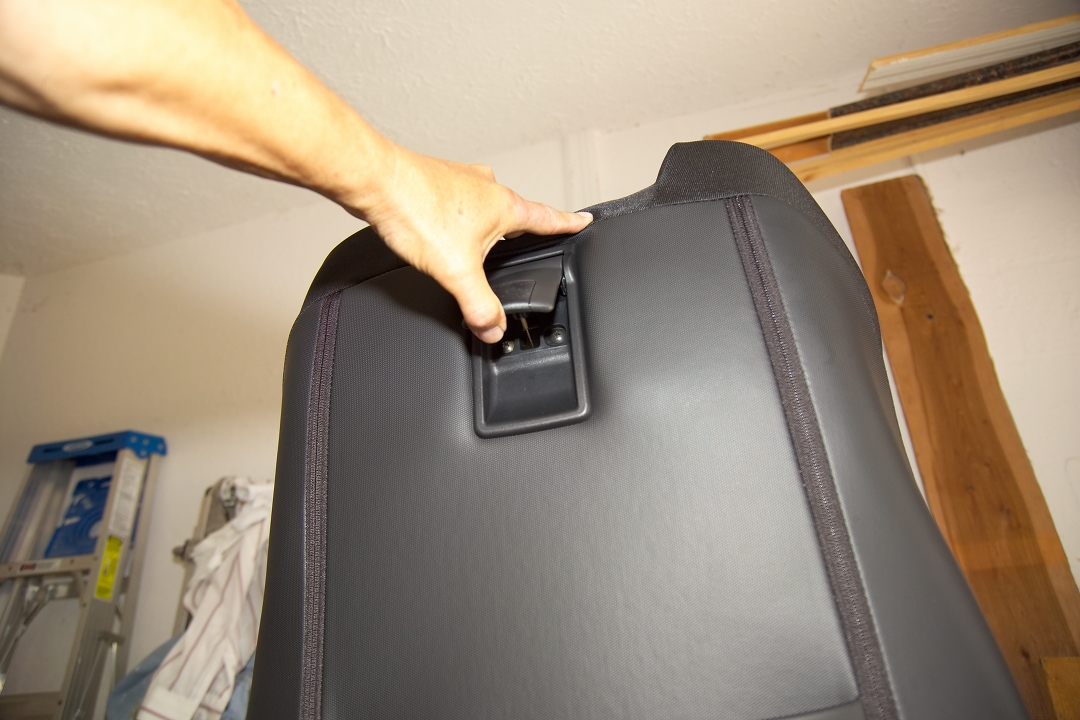
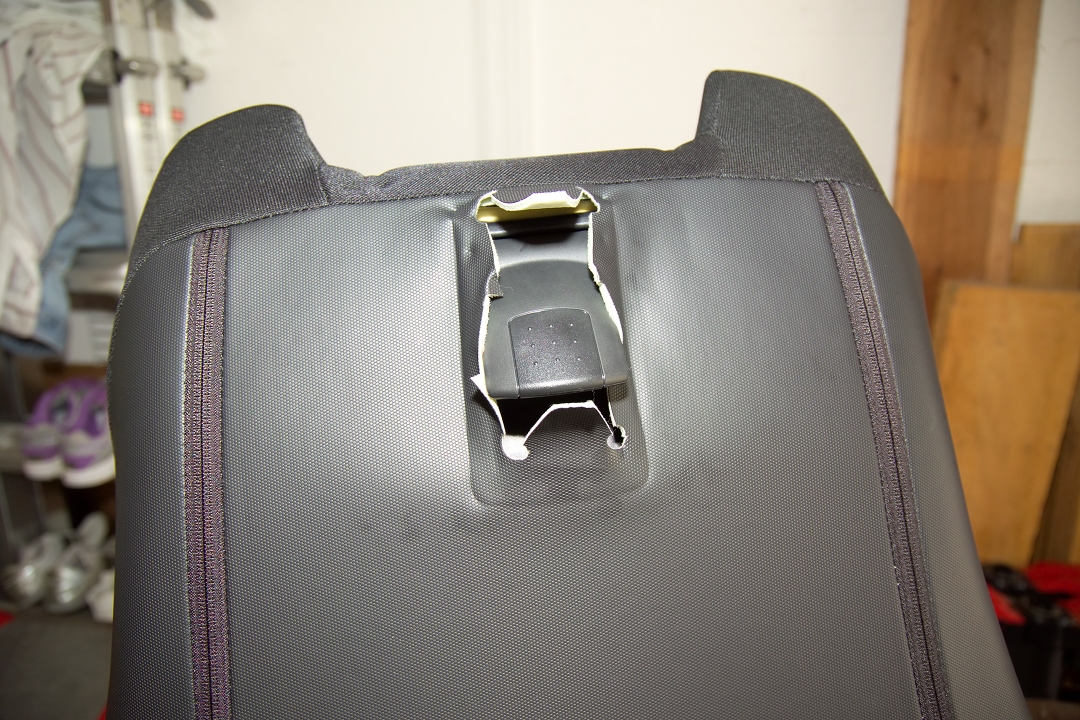
Fold the back cover to the front to expose the seat frame. Lift the foam rubber to expose the interior framework. Locate the bottom of the two ferrules for the headrest. Squeeze the two sides of the ferrule while pushing upward. Once released, remove the ferrules.
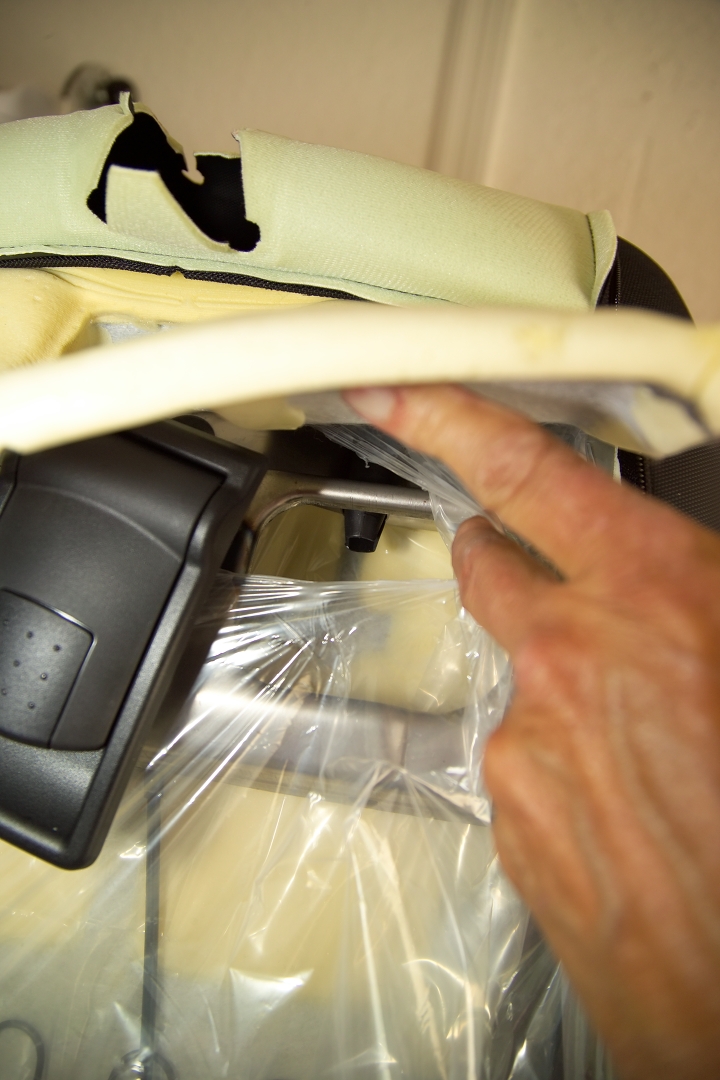
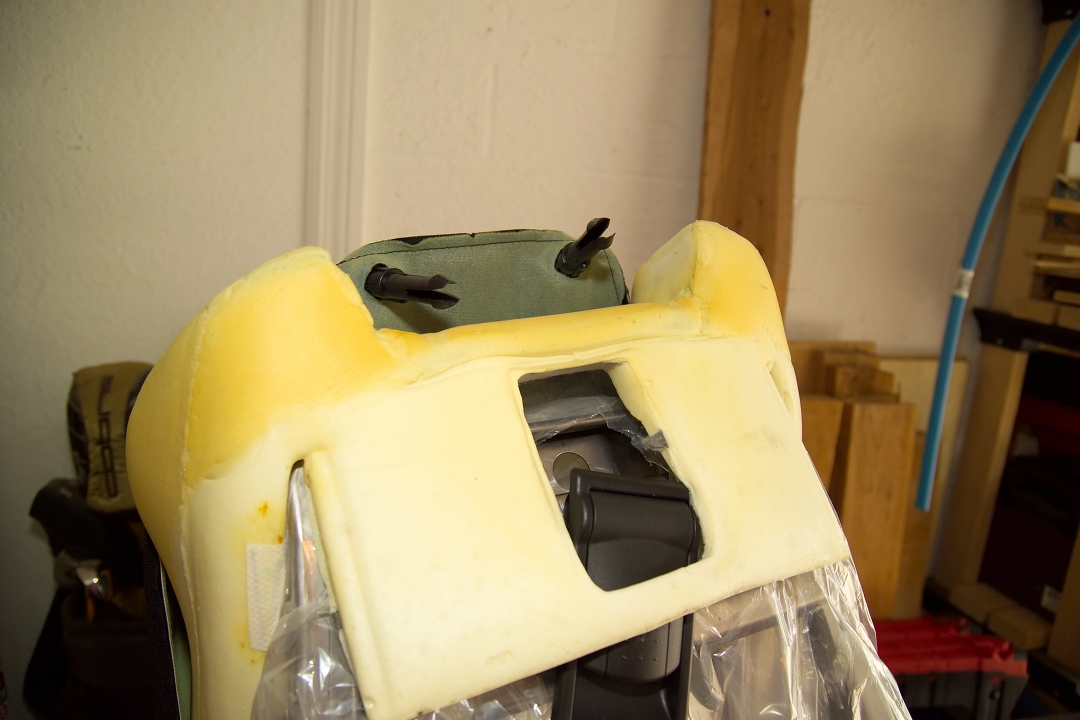
Slide the bottom and sides of the cushion forward to clear the frame and lift the cushion and cover off of the frame. Set the seat frame aside.
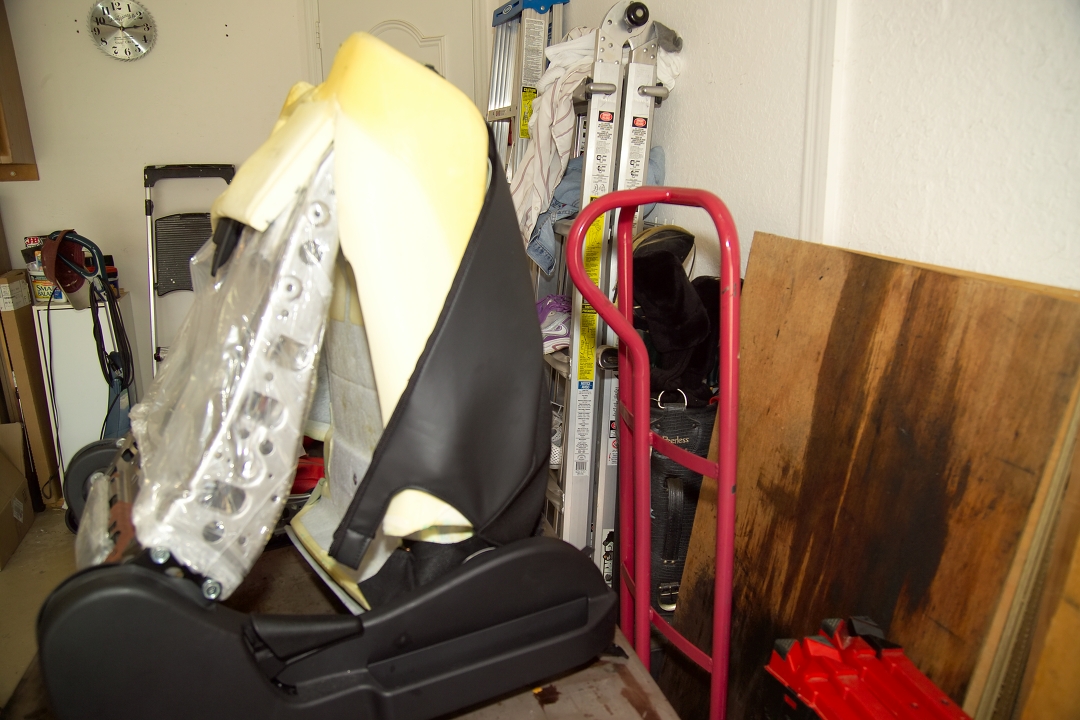
Next, we’re going to remove the foam cushions from the frame – Go ahead and grab your side cutters and safety glasses!
Cover/cushion separation: Place the bottom cushion on the work bench, face down. Using diagonal cutters snip the hog rings and remove the pieces (NOTE: Put on your safety glasses, the hog ring chunks WILL go flying!) Flip the cushion over and fold back the sides of the cover. Observe that the seat cushions have side bolsters and the contour of the seat is maintained by wire stays embedded in the foam rubber. The cover is held in place to the stays with hog rings. Locate the hog rings and snip them to separate the cover.
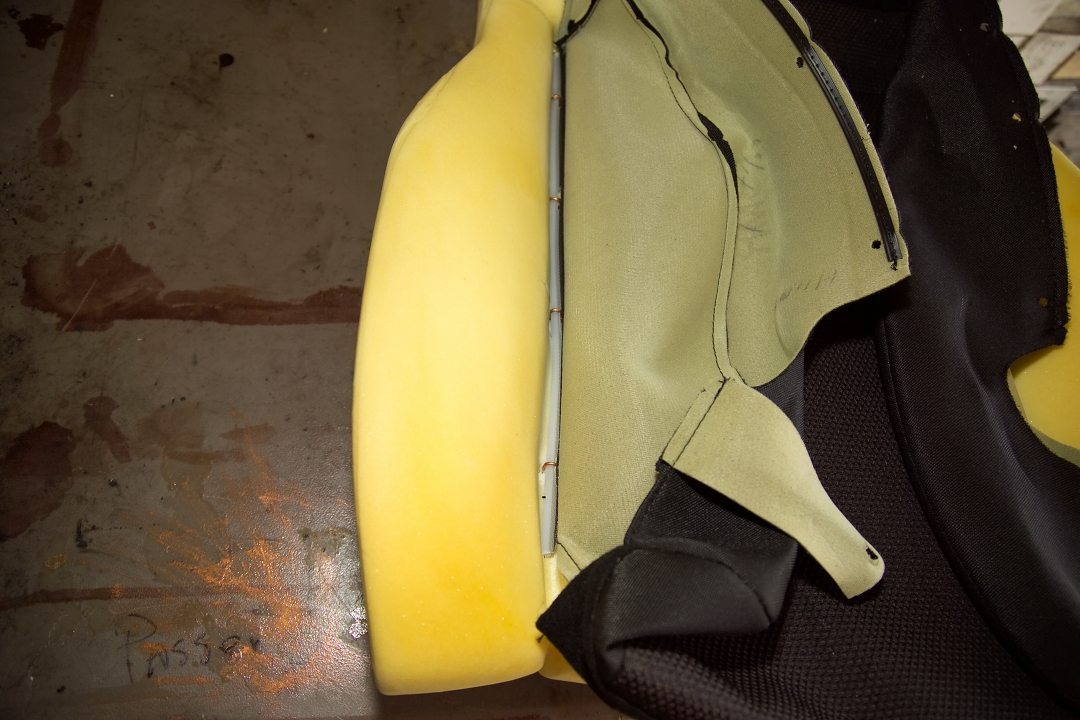
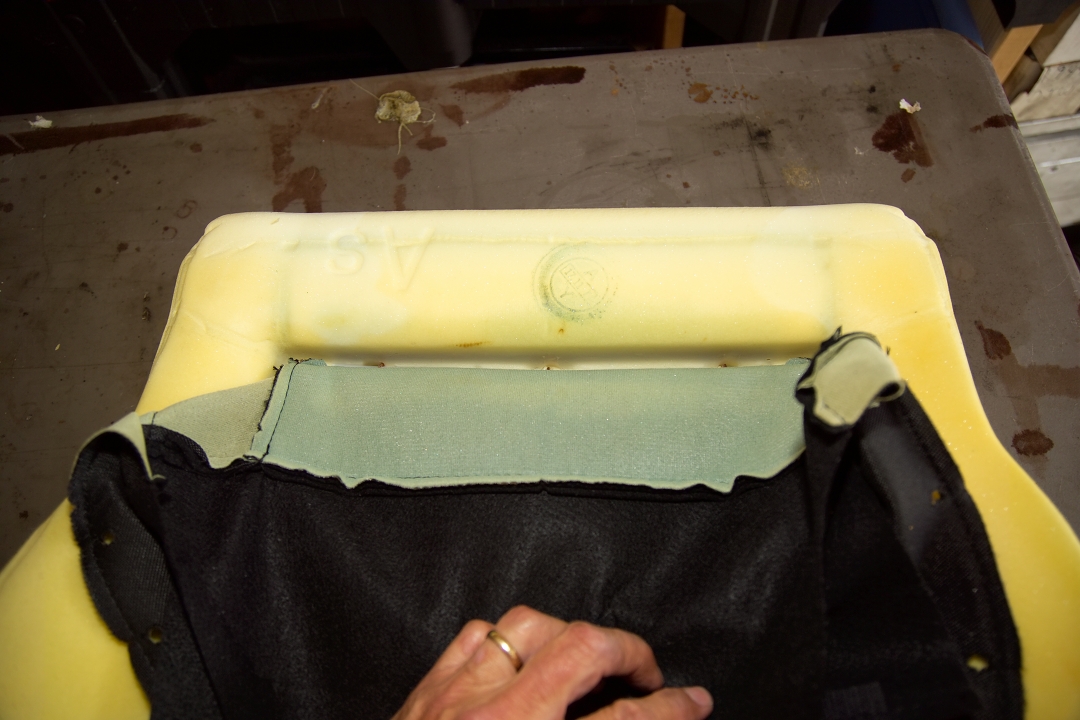
Place the back cushion on the work bench and fold back the cover to expose the remaining hog rings. Snip the rings and separate the back cover. Note: There are also two small hog rings on the back side of the cushion near the bottom.
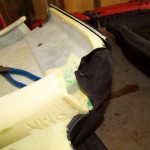
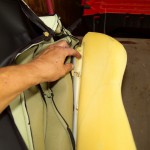
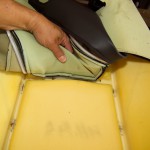
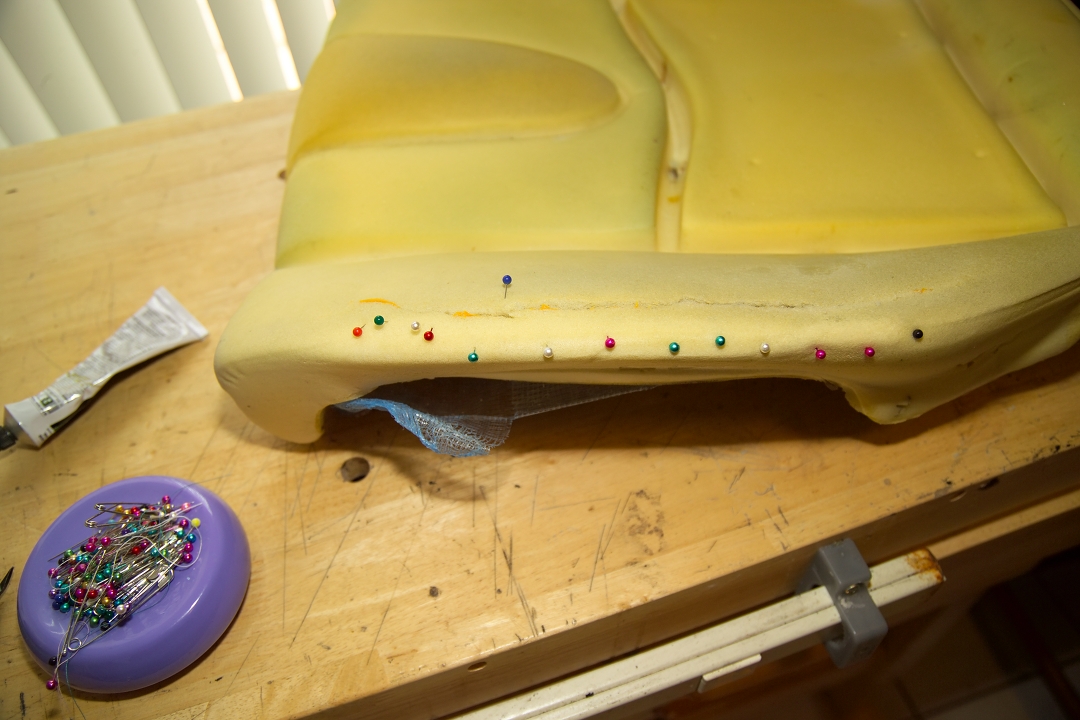
At this time it is a good idea to inspect the cushions for tears. My driver’s seat bottom cushion was torn on the door side bolster where you slide your butt getting in or out of the car. Repair was accomplished with the 3M adhesive using pins to hold things in place while the adhesive dried. After the inner layer of adhesive was dry, I applied a second coat on top to help spread out seating stresses and prevent future damage.
Attaching the new covers to the cushions: There are two methods of attaching the new covers to the wire stays in the cushions.
The traditional method is to use hog rings. This method can be cumbersome in the deep folds of our seats. The second method uses nylon cable ties, or “zipties”. I used 4” cable ties because they are thinner than the easier to use 8” ties. Make sure you use good-quality ties, not old ones that have been sitting in a toolbox for years. You don’t want these to snap, because then your seat covers will look sloppy.
In either case, it is useful to mark the cushions where the attachments are to be made. Lay the covers in position to transfer the marks on its corresponding plastic stays. Use a small utility knife to cut an access point for the new hog ring or cable tie.
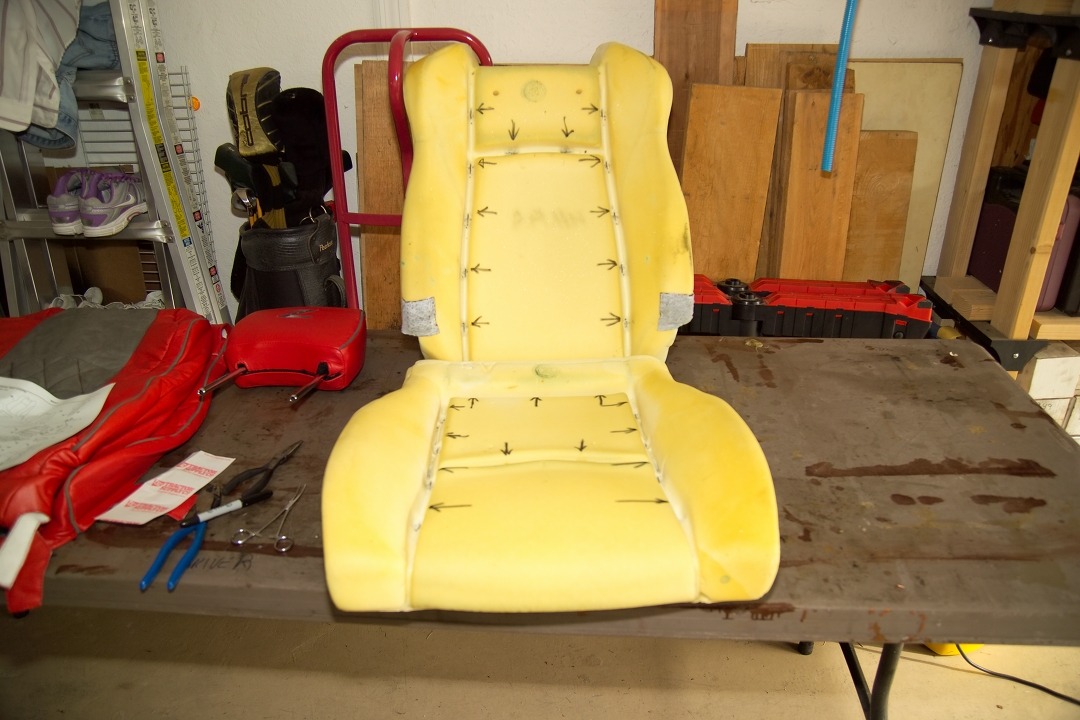
Here’s a good spot to take a break. We’re in the home stretch, but the next part is more difficult… So, stretch, grab a bite, refill your beverage and we’ll get back to it!
Ok, we’re back! After doing these, I learned that it is best to attach the covers to the wire stays running across the cushion, and then attach to the stays on the sides.
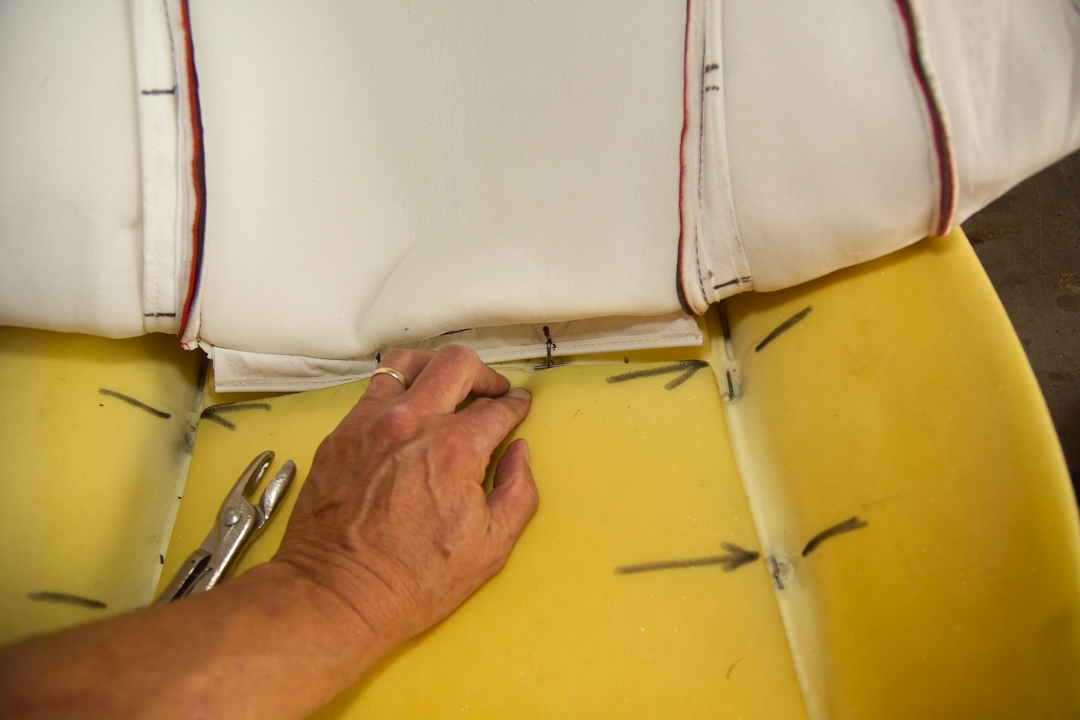
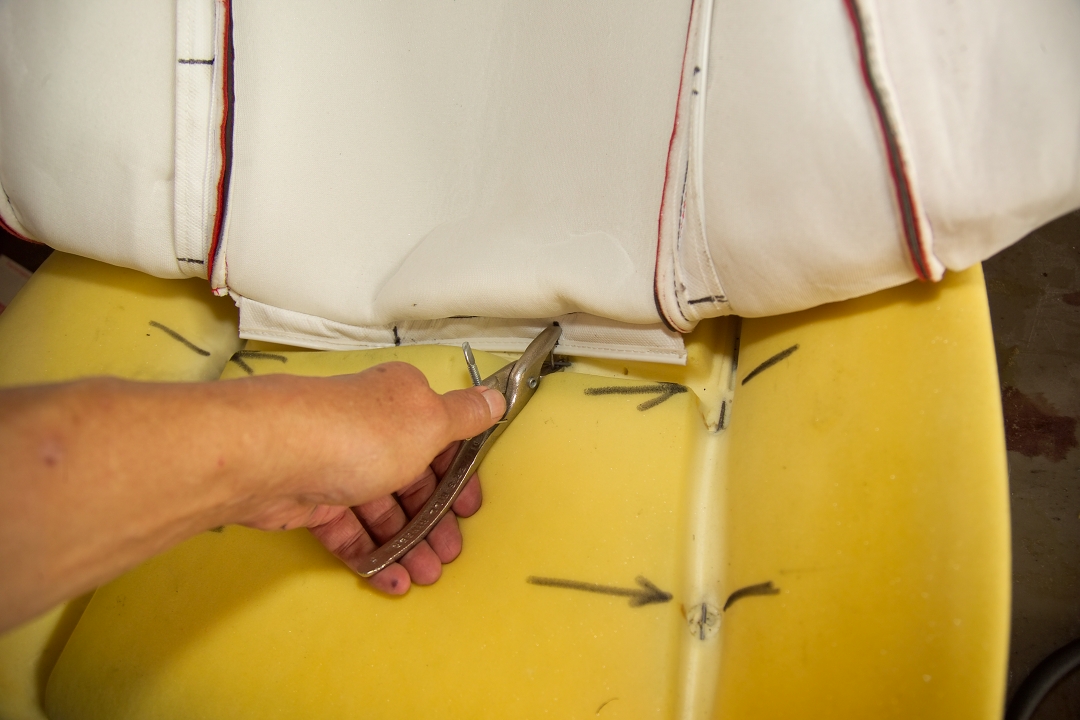
Because I was using 4” cable ties, I found it useful to pre-position the ties under the wire stays. Orient the ties so that the retainer ends are accessible once the loop is made. In the close working quarters found here, I found it useful to use forceps to dress the small end of tie into the hole cut in the cover stay.
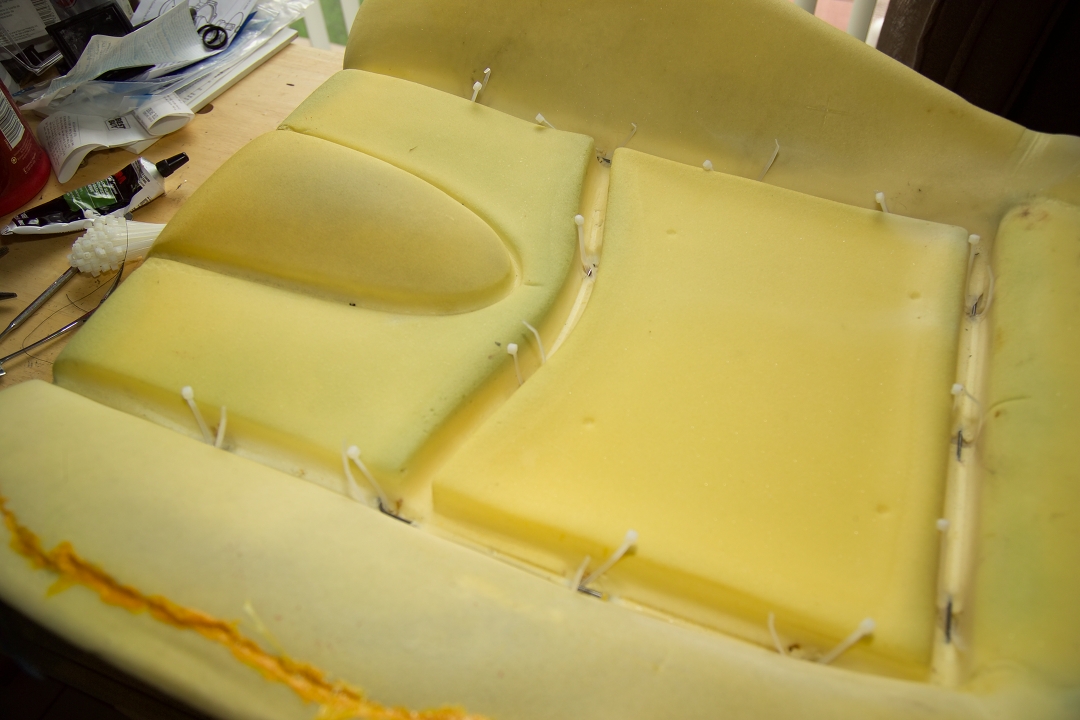
Start all of the ties for each wire stay before you pull them tight. This will make it easier to manipulate the cover during this step. Once the ties are all started, pull them tight a bit at a time (so that the “bar” enters the slot in the foam evenly, not at an angle). You’ll want to “work” the bar down into the slot, and once the zipties are tight, trim the end with a nail clipper.
Also, you’ll want to compress the foam when snugging down the zipties. This maintains tension on the stay bar, which keeps the upholstery taut and smooth. If you are using hog rings and pliers in this section, you may find it difficult to engage both the stay in the cushion and the stay in the cover before squeezing.
Once the inner attachments have been made, fold the covers into position around the cushions. Zip up the zippers and attach the U-channels at the bottom of the back cushion. Allow the leather to relax and conform to the cushion profiles. A heat gun set on low can be useful here. Just don’t heat the covers enough to damage anything… better still, take them outside to bake in the sun for a while.
At this point, use the old cover as a template to mark the cutout for the auxiliary release lever on the back of the passenger panel. When you cut out the access, I suggest you cut it undersize and make final trimming once the cushion is fitted to the frame.
Attaching the covers to the framework: At this point it may be a good time to refer to your photographs to see where the hog rings attach, and bring your helper in – this can be anyone, since they’re just going to provide weight.
Start with the seat bottoms and place them face down on the work bench. Attach the front of the cover first followed by the rear flap attaching to the springs. This is followed by the sides working from front to back. Before making your final attachments, have your helper compress the seat by placing weight on it – this will allow you to get the cover snug. Since you will have to significantly compress the side bolsters to make the attachments, I suggest you insert the hog ring into the leather first and then use a Phillips screwdriver to lever the other end of the ring on to the metal frame, while your helper presses down on the underside of the seat frame. Then use the pliers to squeeze the ring.
Set the bottom cushion assembly aside until the back cushion is in place.
Now on to the seat back cushion. Un-zip the zippers and slide the cushion back over the frame. Pay attention to ensure the foam wraps around the bar at the bottom of the frame. Make sure the cover is seating properly around the side bolsters, as you slide it on. A little pro-trick is to turn the seat cover partially inside-out, place the top over the top of the seat, and then “unroll” or unfold it down the seat gradually… Like putting on a condom! Zip up the zippers and again allow the leather to relax, using heat as necessary.
When we return, we’ll cover the only real challenge of this installation, and I’ll show you how it can be overcome!
At this point, we need to discuss the issue where the covers do not comply with the OEM specifications. The OEM cover U-channels are metal and have a smaller profile compared to the leather covers. The new covers have larger, plastic U-channels. This means that the two cover sections must be overlapped and squeezed to a much greater extent to engage. This, combined with less stretchable nature of leather, makes this the most difficult step of the installation. Take note of just how tight this fit is at this time.
Once the leather has relaxed, remove the cushion/cover from the frame and attach the two hog rings to the inside bottom of the cushion. At this point, I found it necessary to remove the bottom 1” of the foam where it wraps around the bottom bar of the frame. This was needed to give additional clearance for the plastic U-channels.
We are now ready to install the seat back on to the frame. Slide the cushion back onto the frame, making sure it is resting on the top of the frame. Fit the cushion around the frame sides and under the bar at the bottom. Tilt the seat back as needed to dress the U-channel between the plastic side covers on the frame and the bar at the bottom of the frame.
At this point for the passenger seat, do the final trimming for the auxiliary tilt release bezel, dress it through the cover, and secure the panel with two screws.
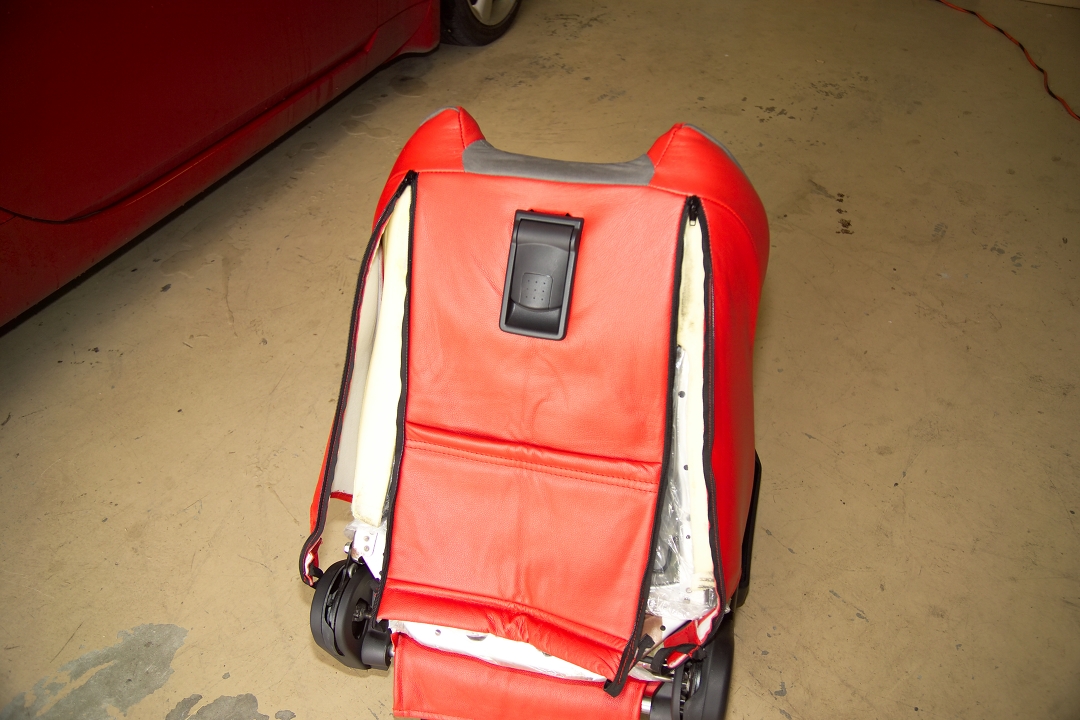
Do not pull the zippers down at this time, as it will make engaging the U-channels harder. Try as I might, I could not get enough overlap to engage the U-channels. I then compressed the front of the cushion with a board and clamping. I also cut some notches into the rear U-channel to create three separate tabs. At this point I was able to engage the center tab and used the additional leverage to engage the other two tabs. Perhaps Interior Innovations will adjust their specifications to account for the larger size in the future, but this is what I had to do. (NOTE: Some customers report that allowing the covers to bake in the sun for several hours makes this part of the task a little easier.)
At this point, close the zippers. Using the OEM cover as a template, mark and pierce the top of the seat cover for the headrest ferrules. Use caution, and go small! It is better to under-trim the holes rather than risk having a cut show after the ferrule is installed. Slide the ferrules into the seat until they snap into place in the frame.
Insert the bottom cushion into the outer frame and turn the seat assembly over. Adjust the seat cushion so that the 12mm bolts fit and tighten. Pull the last flap of the cover around the bar and secure the elastic to the seat springs.
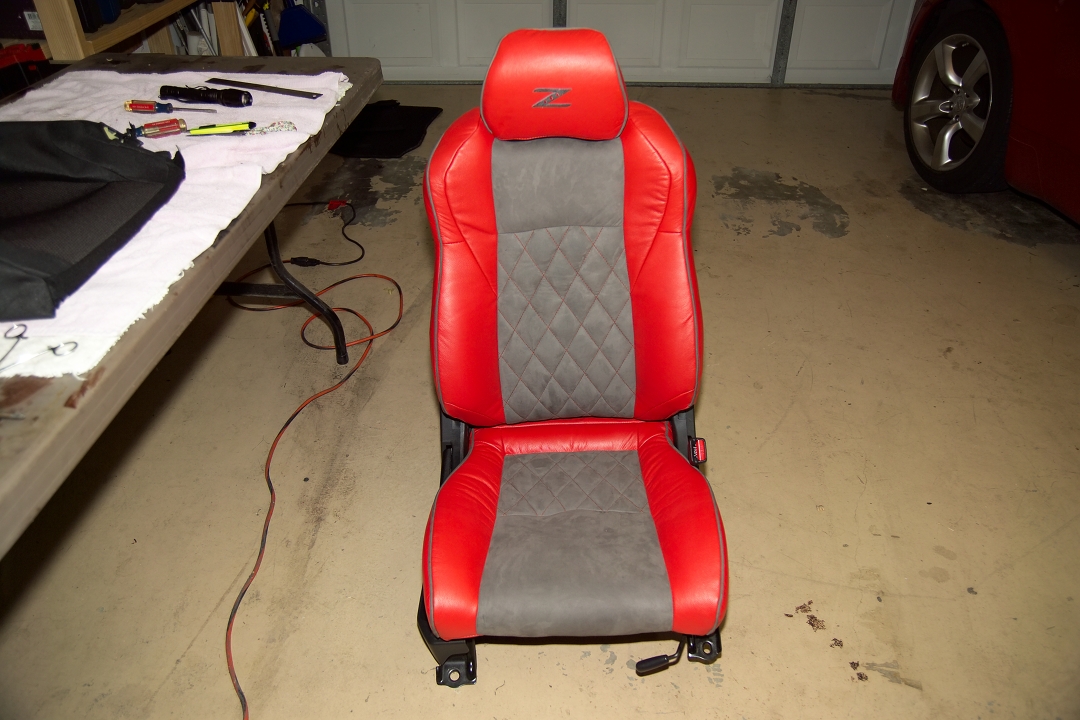
Install the new headrest cover: Unlike the seat cushions, you cannot remove the fabric covering the headrests, as it is glued in place. To install the leather cover, release all of the Velcro strips to maximize the bottom opening. Turn the cover inside out and then push the top back in half way. Place the new cover over the headrest and work it down little by little squeezing the cushion as needed (again, think of putting on a condom). Once in place, secure the bottom Velcro strips.
Re-installing the seats: This operation is pretty much the reverse of the removal process. Remember to leave the headrests out, and tilt the seat forward before installation.
If you have airbags, verify the battery is still disconnected before reconnecting the wiring. Use zipties to secure the wires to the seat frame.
Mount the seat frame, engaging the locating pin. Install the front mount bolts, but don’t torque them down yet. If necessary, connect the battery now. Move the seat forward and install the rear mount bolts. Torque the bolts to 25-40 ft-lbs. and replace the plastic caps. Move the seat rearward, torque the front mount bolts and install the plastic caps.
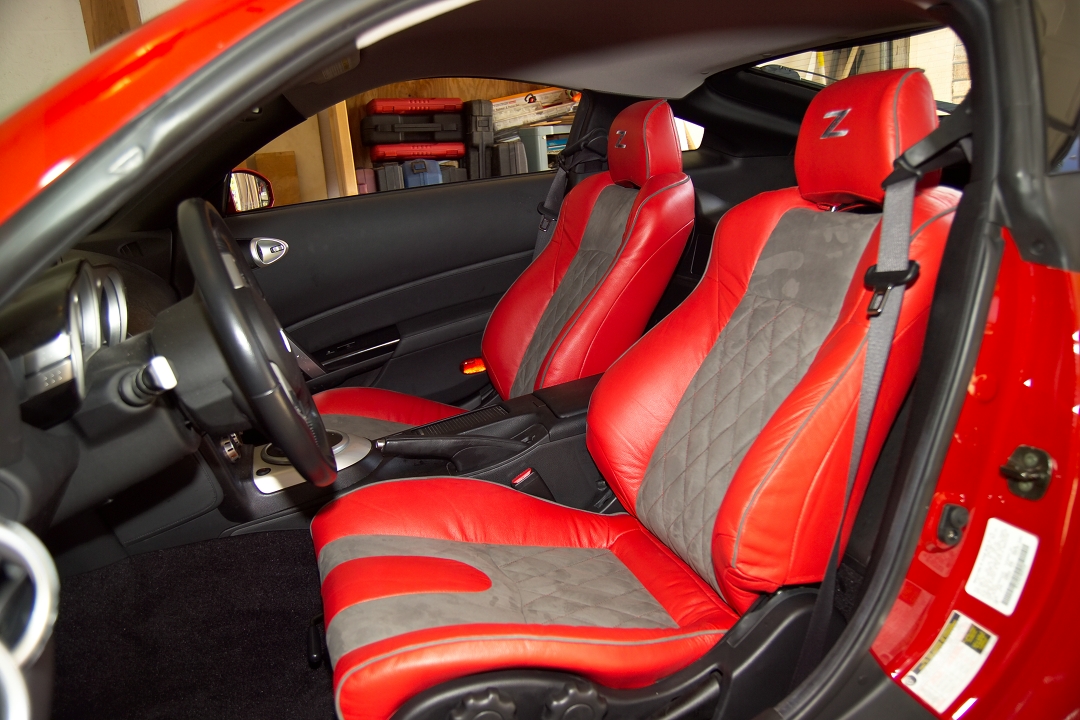
I hope you’ve enjoyed this installation article, and I also hope it helps you with your own seat upholstery replacement. Thanks for joining us!
