DIY/HOW-TO Seat Cover Install
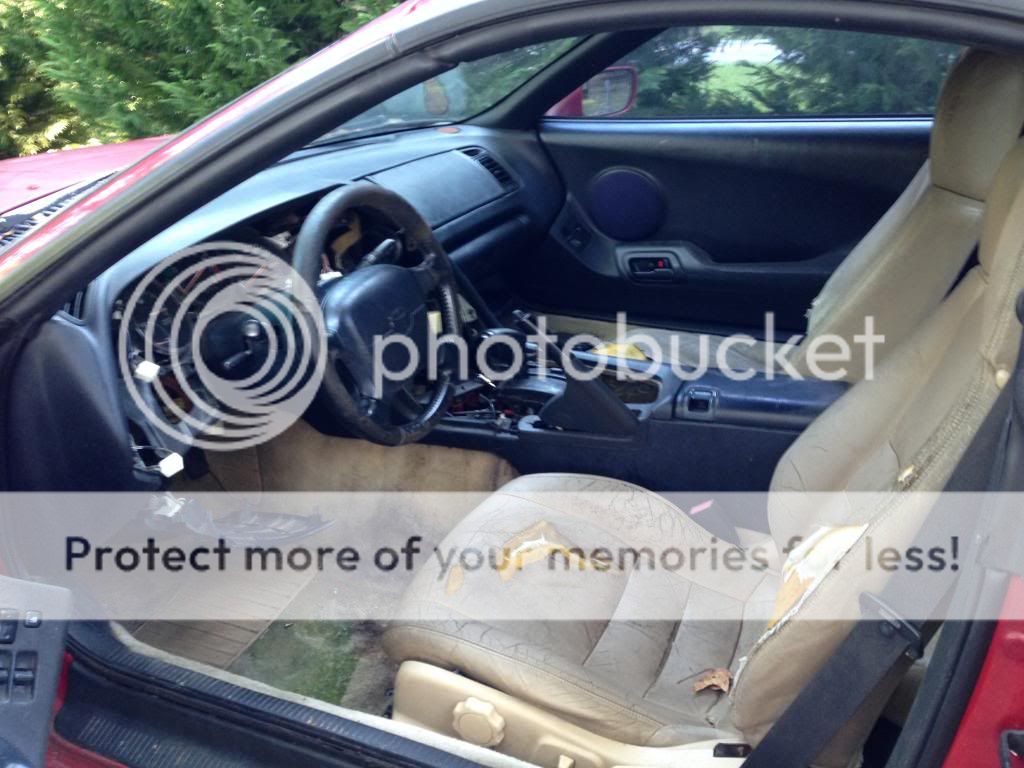
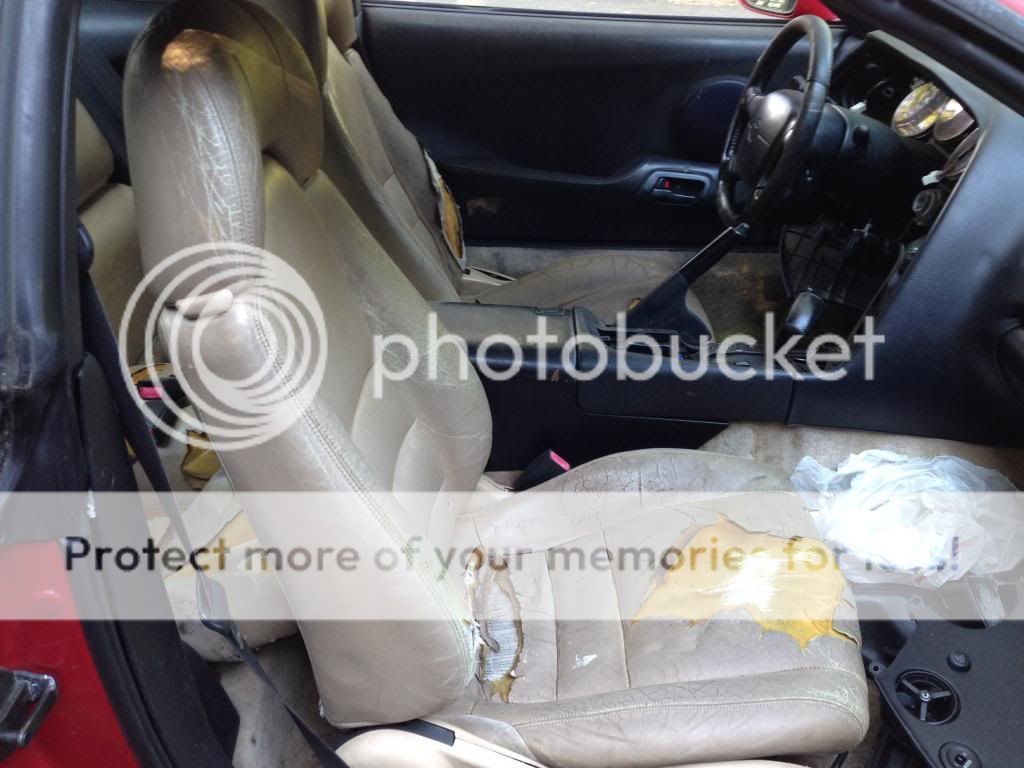
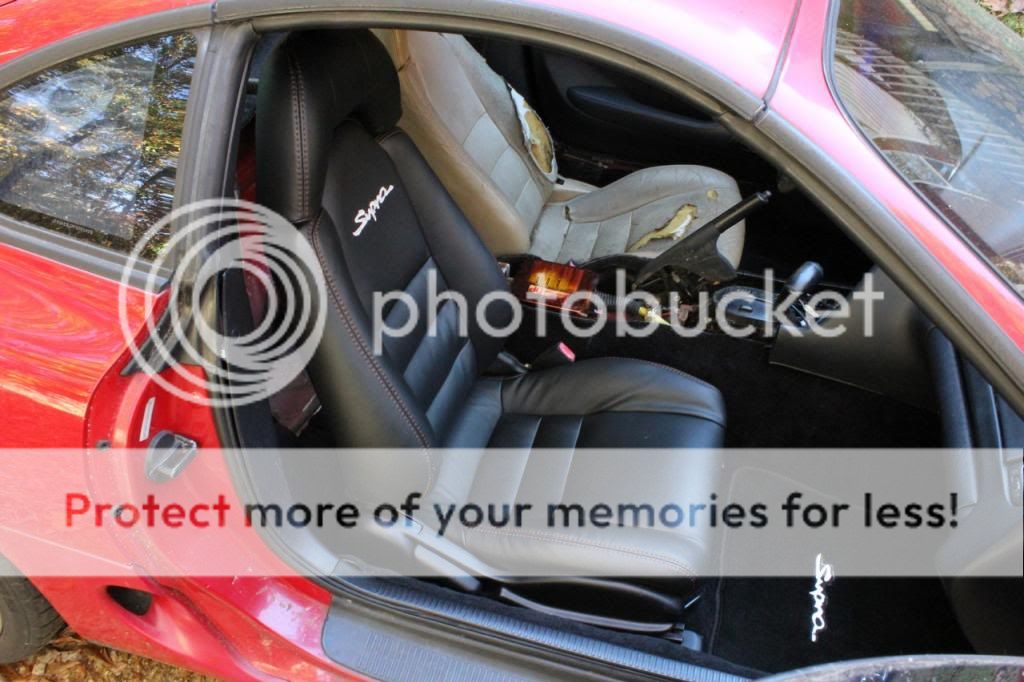
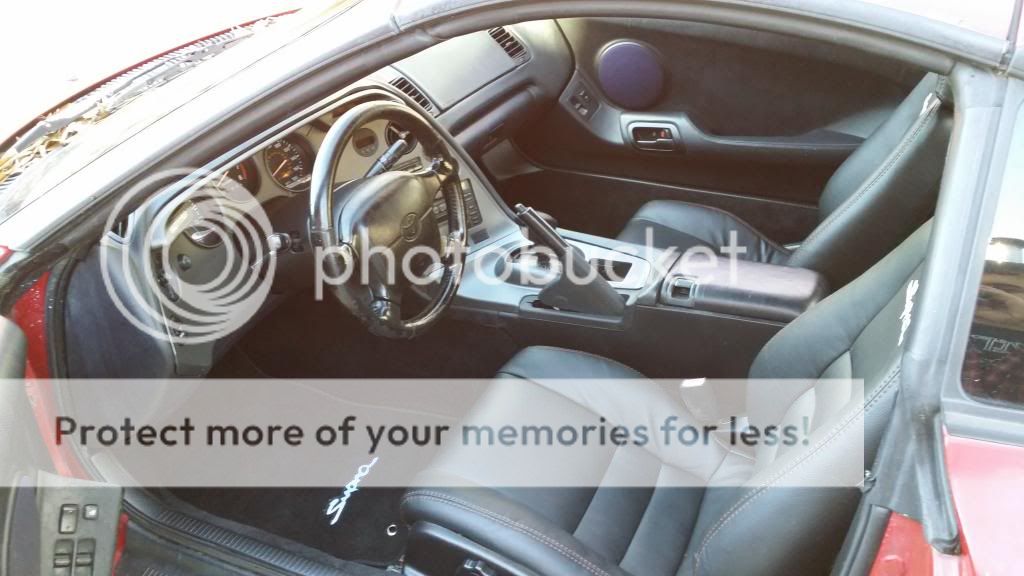
Since I recently installed new seat covers on my front seats (and since I’ve had quite a few request), I thought I would take some pictures and try to make a little write-up for those of you who may be interested in tackling this yourselves. It really isn’t what I would call too hard (out of a 10, I’d say this is a 5-6), but it does take some time and a little patience. Also be prepared for your fingertips and arms to be sore! This is easily doable on a nice weekend, doable in a day if you catch on quick or have some experience. I’ve never done a step by step write-up, so please bear with me, I’ll do the best I can.
I guess I’ll start with tools required: *(This is for what I call the “zip tie” method [for obvious reasons], but if you don’t wanna go this route, you’ll also need hog ring pliers and hog rings)
-Phillips head screwdriver
-Flat head screwdriver
-Socket wrench
-12mm and 14mm socket
-Dikes/side cutters/cutters (whatever you like to call them)
-Needle nose pliers
-Razor blade
-Zip ties
-Seat covers (I got mine from ebay seller: exotikleather)
-Spray dye for seat plastics (I prefer SEM Colorcoat in Landau Black)
Note: This writeup only covers the drivers side seat, but the passenger side is exactly the same!
First you must remove your seats, I did not take pictures of this part. There are 5 14mm bolts that must be removed. Slide your seat all the way forward and remove the
covers to expose 3 bolts (one is bolted to the trans tunnel). Remove these 3 bolts and slide your seat all the way back, and remove the covers on the rail to expose the remaining 2 bolts. Remove these 2 bolts, and tilt the seat back and unplug the connectors for the motors on the seats. You will now be able to remove the seat from the car. CAREFUL, its heavy and awkward and you can easily strain your back if you aren’t being careful.
Once they are removed, find a nice place to set them to be worked on. Would be a good idea to set them on a big piece of cardboard or blanket to keep them from getting beat up or scratched.
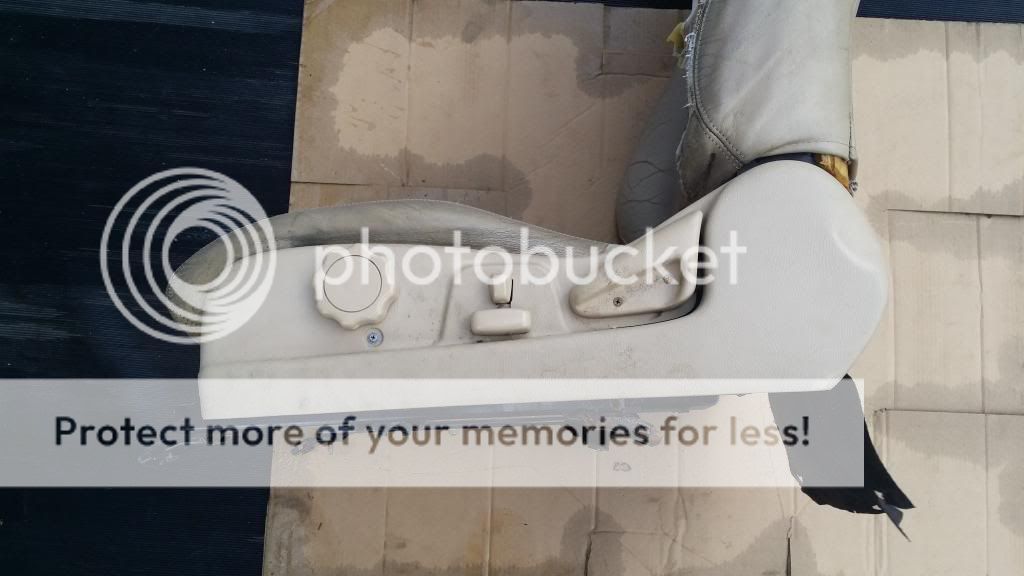
Simply remove the 2 screws from the “tilt lever” and lift it up and it will come off. For the electric slide controls, simply pop them off with a flat head screwdrive
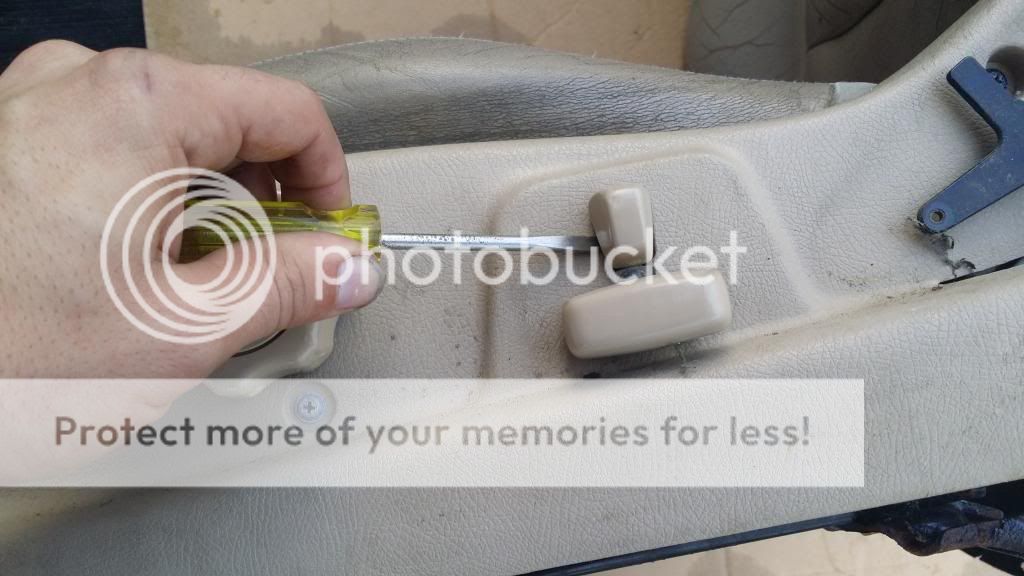
Now, for the twist knob, there is a retaining clip behind it that must be removed before it will slide off. All you have to do is get behind it will the flat head screw driver and push down on one side and it’ll pop off. CAREFUL! It will go flying, so be prepared to catch it!
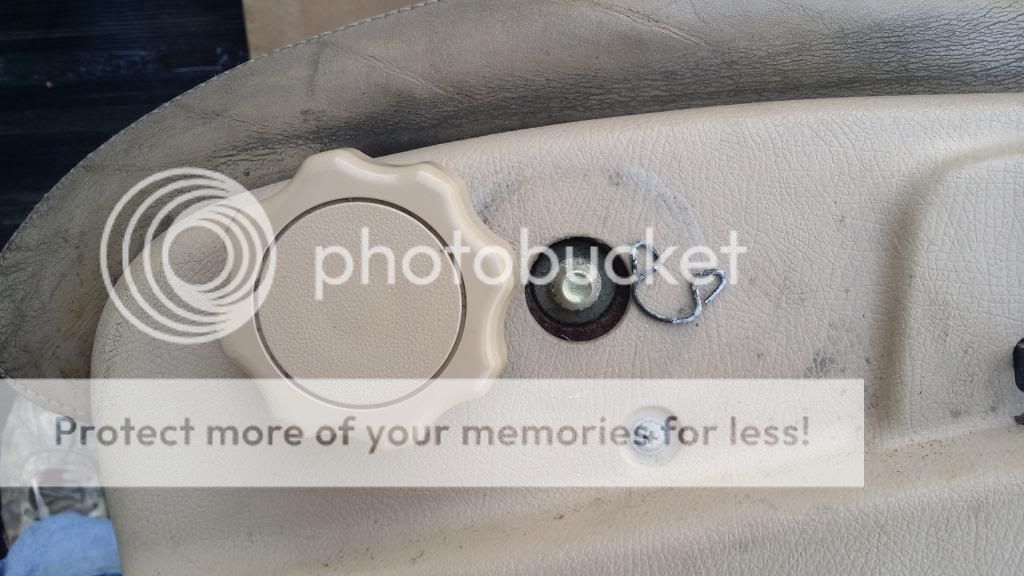
That takes care of the knobs, now you have 4 screws to remove. 3 on the side, and 1 on the back side and the outside plastic will come off by pulling out on the rear and then sliding forward.
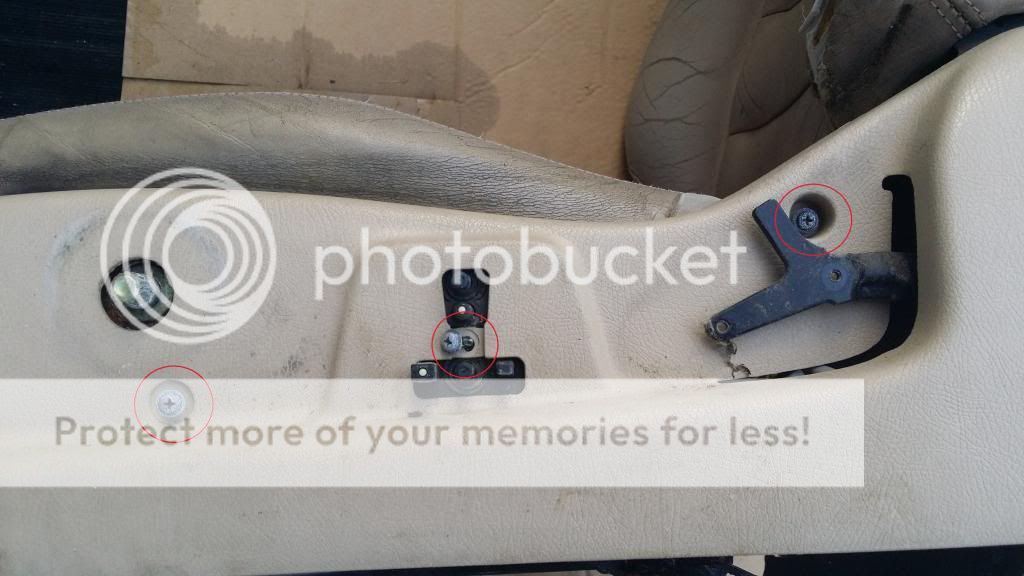
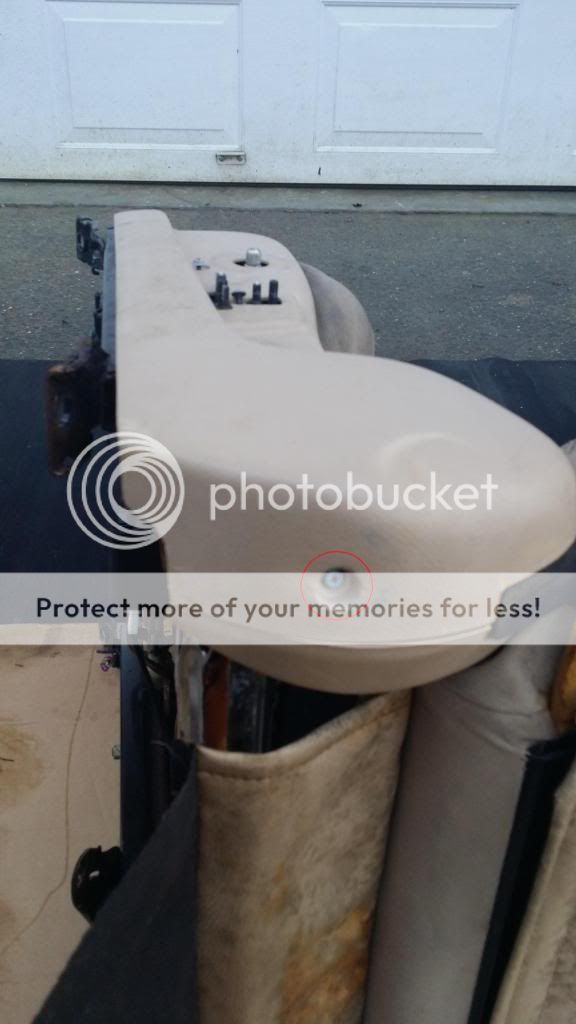
On the right side of the seat, there are only 2 screws that need to be removed.
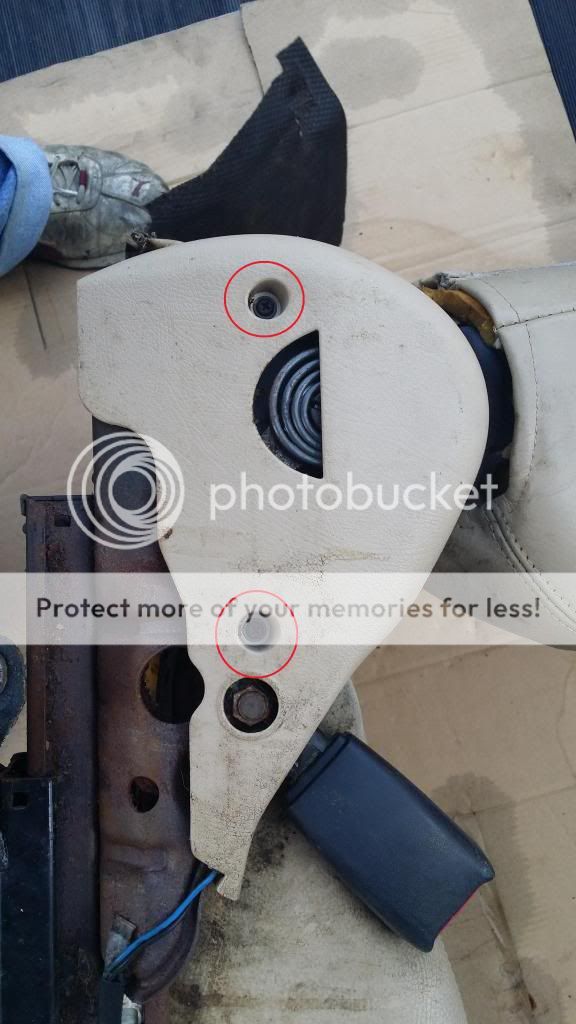
Now you will have access to the 4 12mm bolts that need to be removed in order for the bottom cushion to come off. I only took a picture of the right side, but they are in the same spots on the left side. (NOTE: if you can’t see the rear bolts through the access hole, simply re-install the twist knob and twist it until you can see the bolt through the access hole). Sorry, the picture is upside down
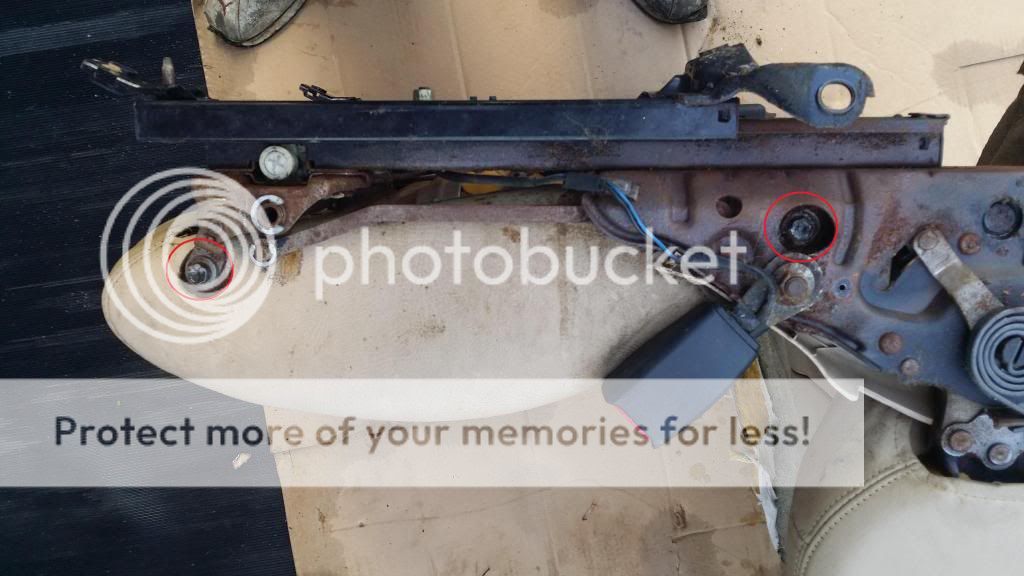
With the 4 bolts removed, pull up on the bottom cushion, and it should come right out. You should now have a seat that looks similar to this.
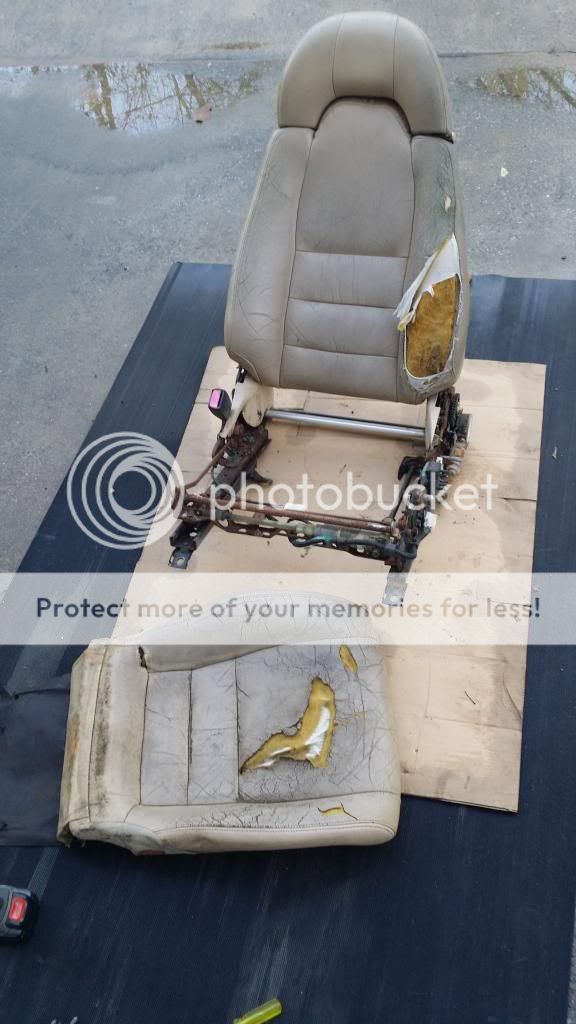
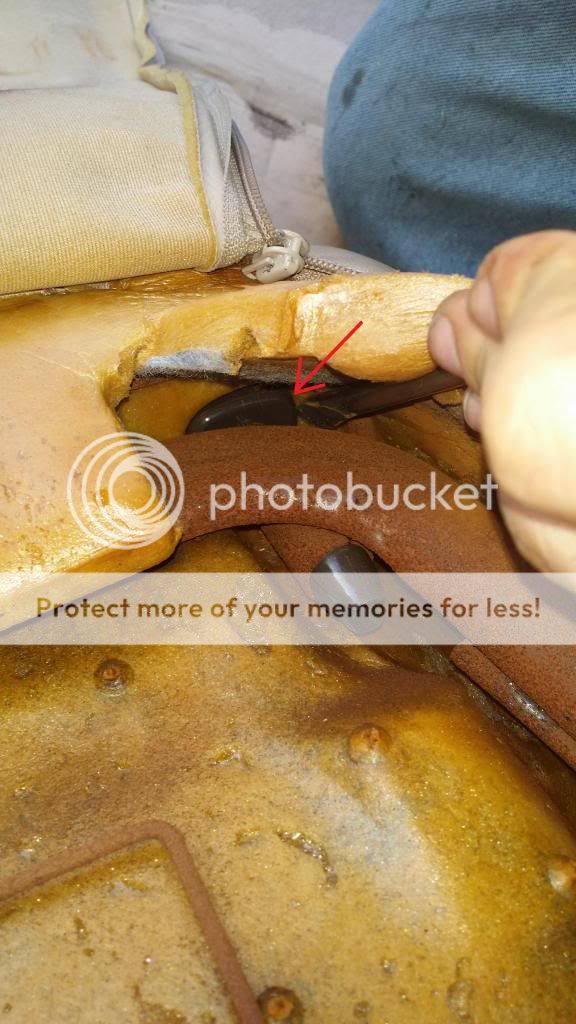
Flip the cushion over, and remove these 2 push retainers.
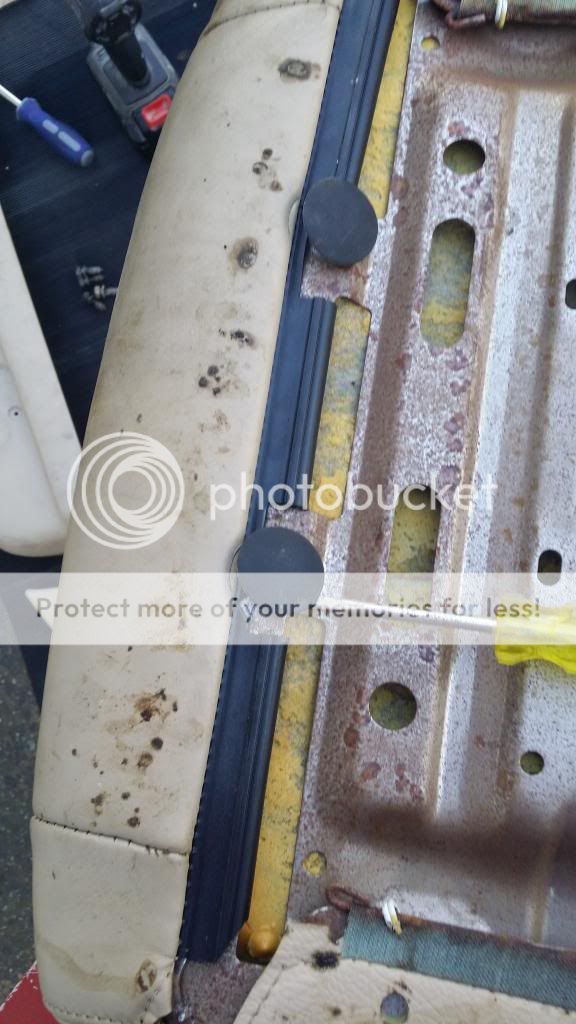
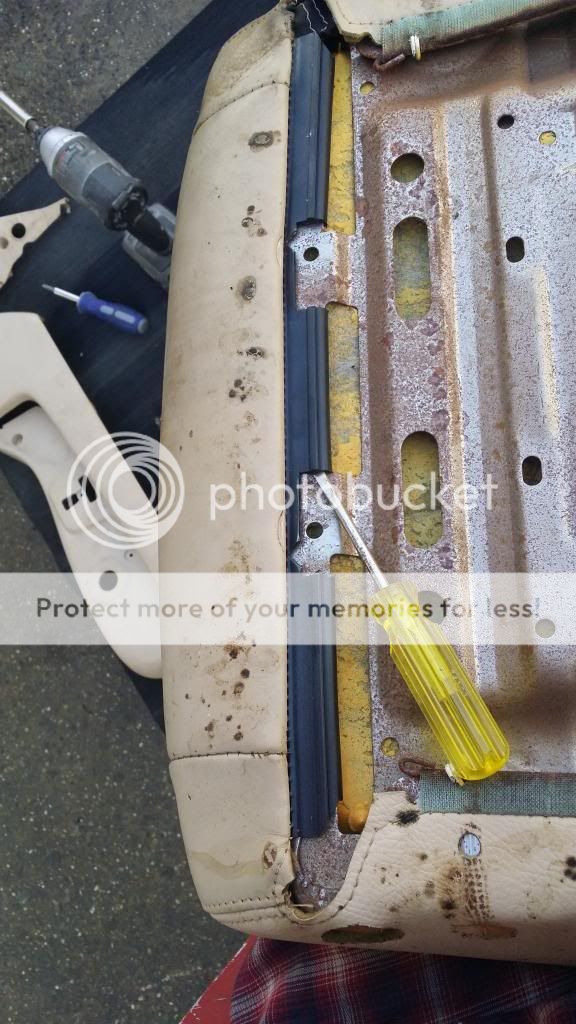
Once those are removed, take your flathead screwdriver and pry these 3 plastic tabs off of the seat base.
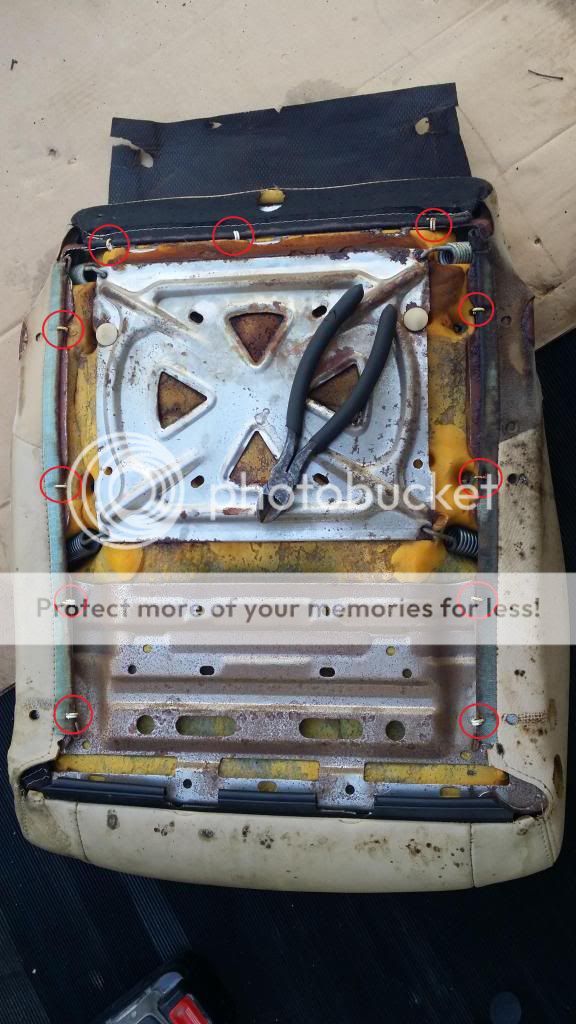
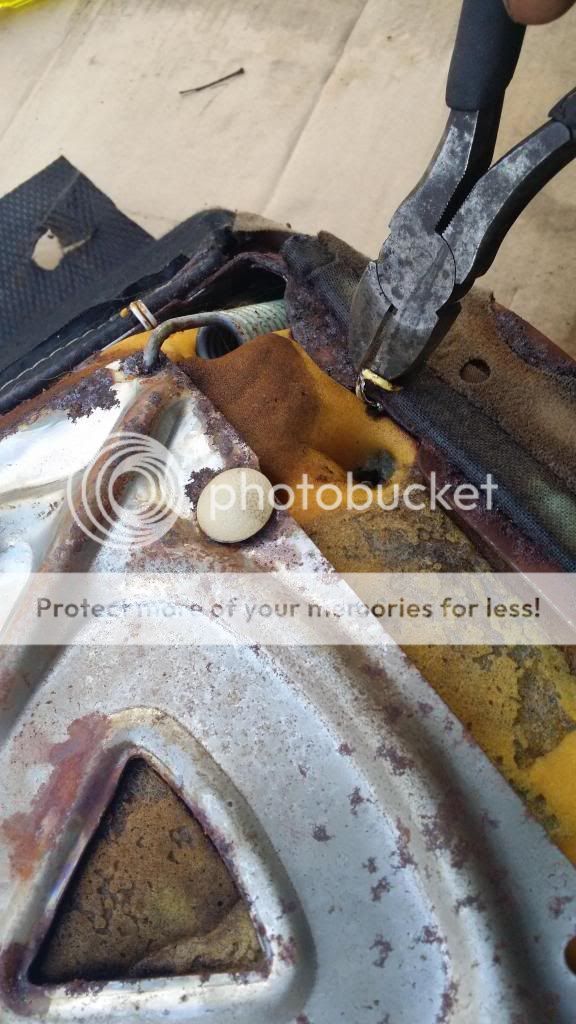
Now get your dikes/side cutters and remove the hog rings I have circled. (also pictured are the side cutters if you didn’t know what I was talking about before  )
)
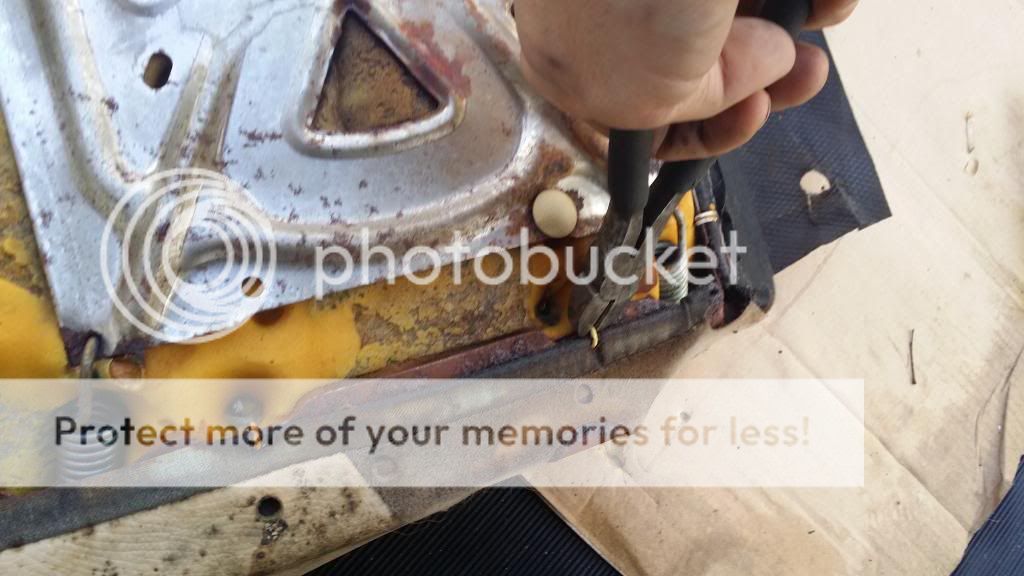
I find it best not to cut the hog rings, but to grab the hog rings with the cutters and twist them really far to the right. Its hard to explain, and harder to catch what I am saying on picture, but with a little practice you will be able to remove the hog rings quickly and in one piece. There is nothing wrong with cutting them in half as they are not reused, but then you have to dig out the other half that is still down in the seat. If you grab and twist them instead they come out in a single piece 90% of the time.
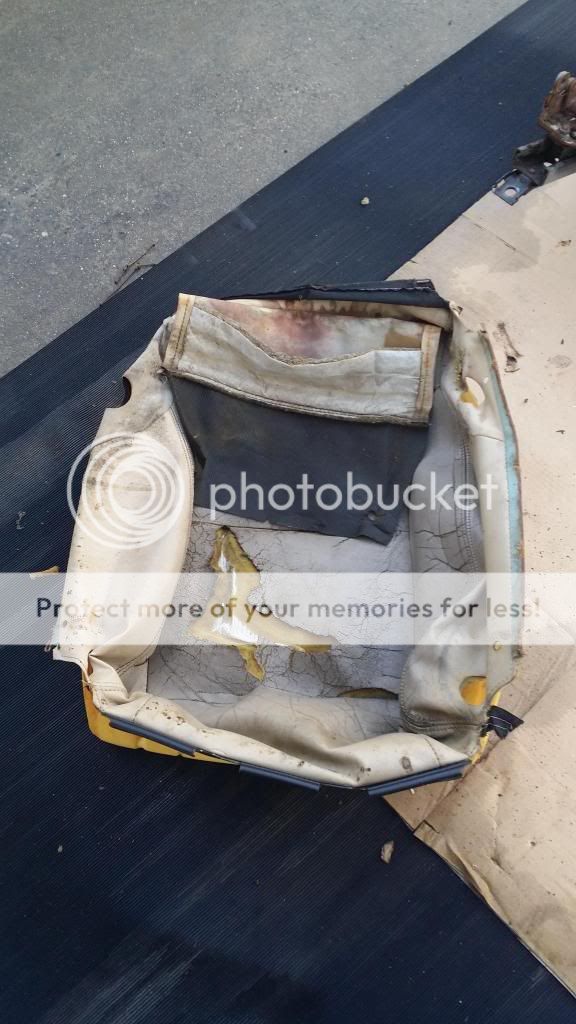
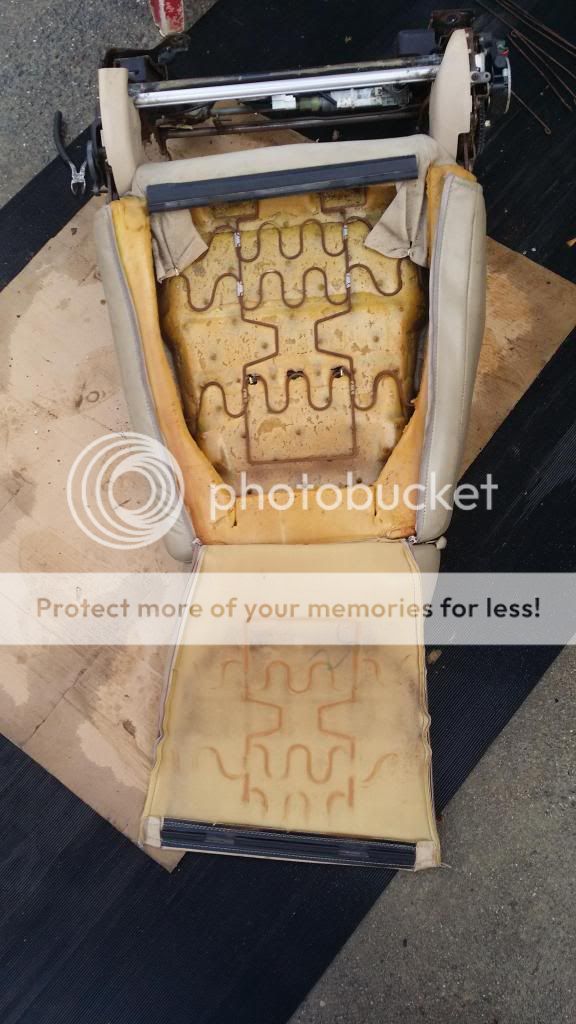
That takes care of the bottom. Flip the cushion over and fold all 4 sides over to the top.
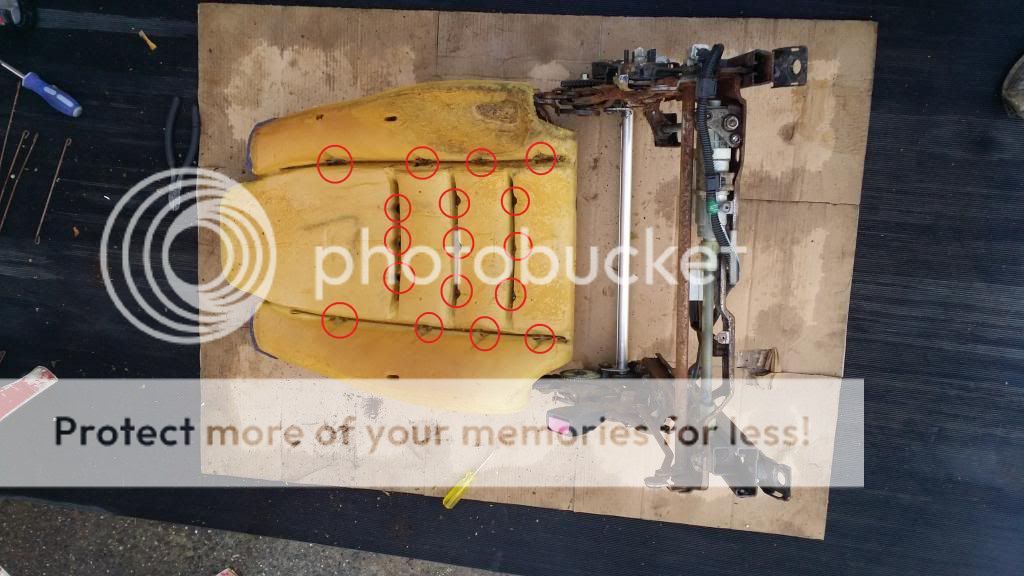
This next picture is simply to show where all the hog rings are located on the top.This next picture is simply to show where all the hog rings are located on the top.
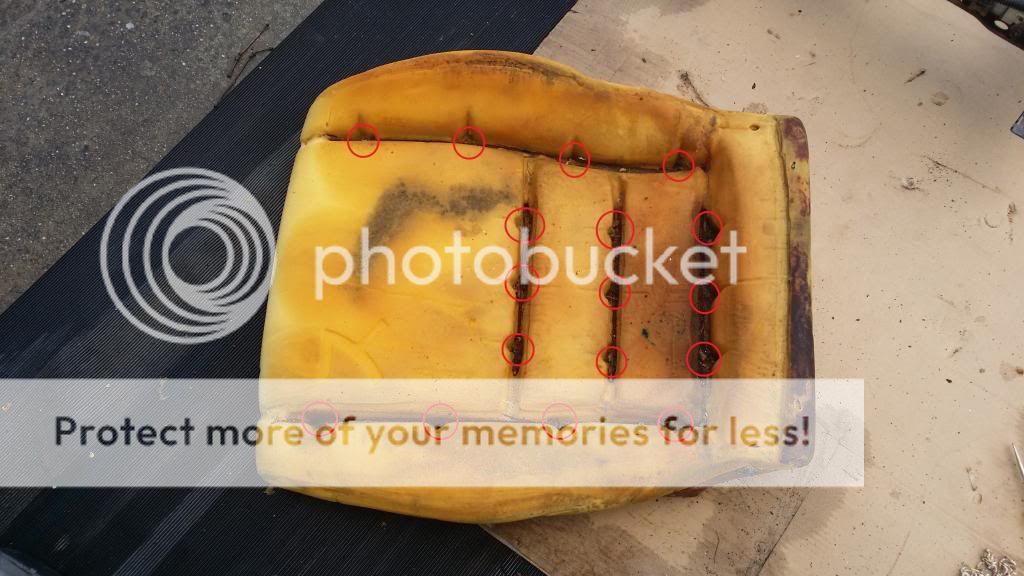
It is important to start with the sides before doing the middle rows. On the top, there are rods inside the cover that run down the channels, and if you do the sides first and remove the rods, it makes it a lot easier to fold the cushion over and get the middle rows.
Fold the side of the cushion up, and remove the hog rings
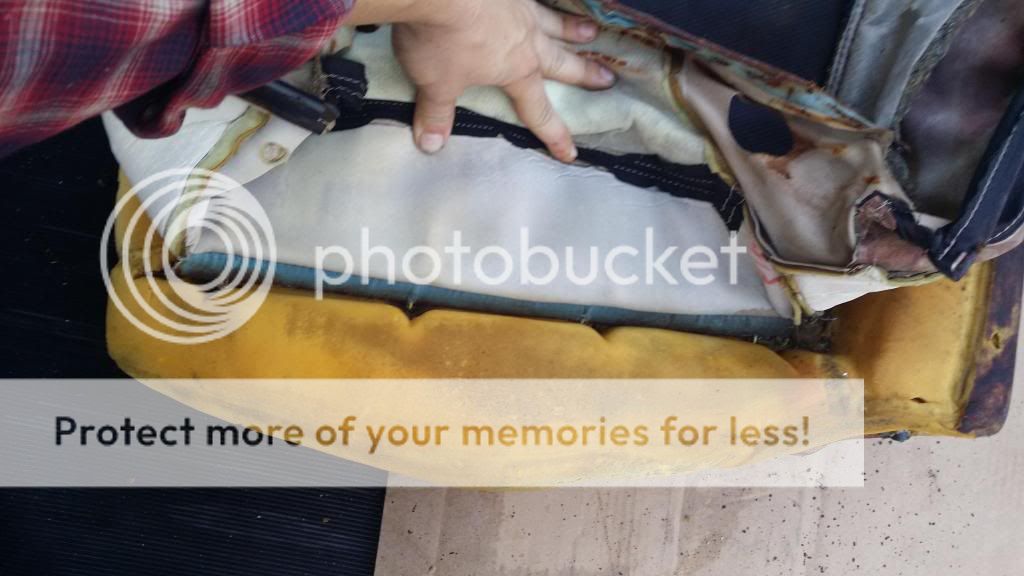
Now, remove the rod from the channel stitched onto the cushion. (IMPORTANT: Keep up with the rods and where they went!)
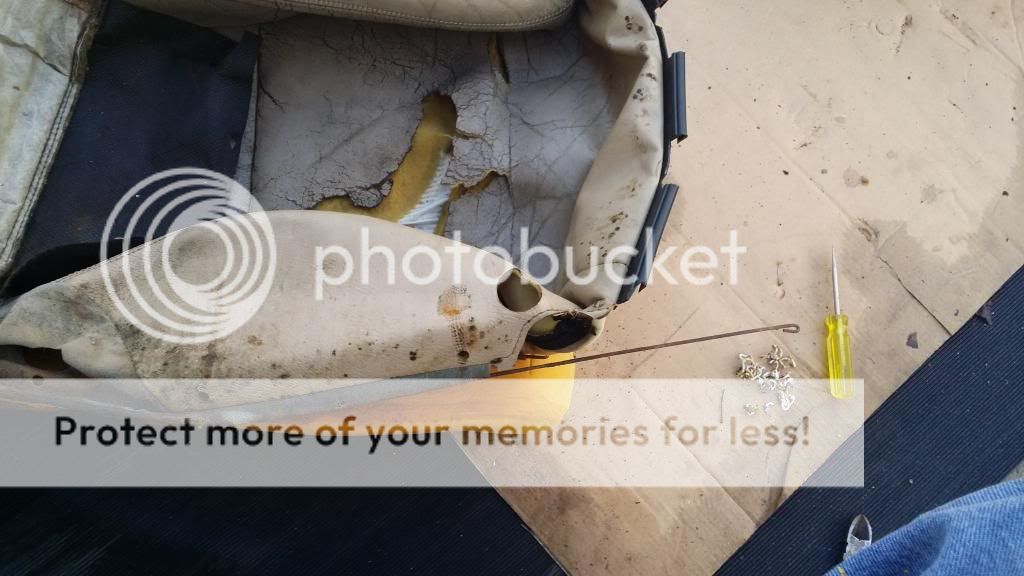
Repeat with the other side of the cushion. Now with the side rods removed, you can fold this cushion up like shown and remove the hog rings from the middle rows.
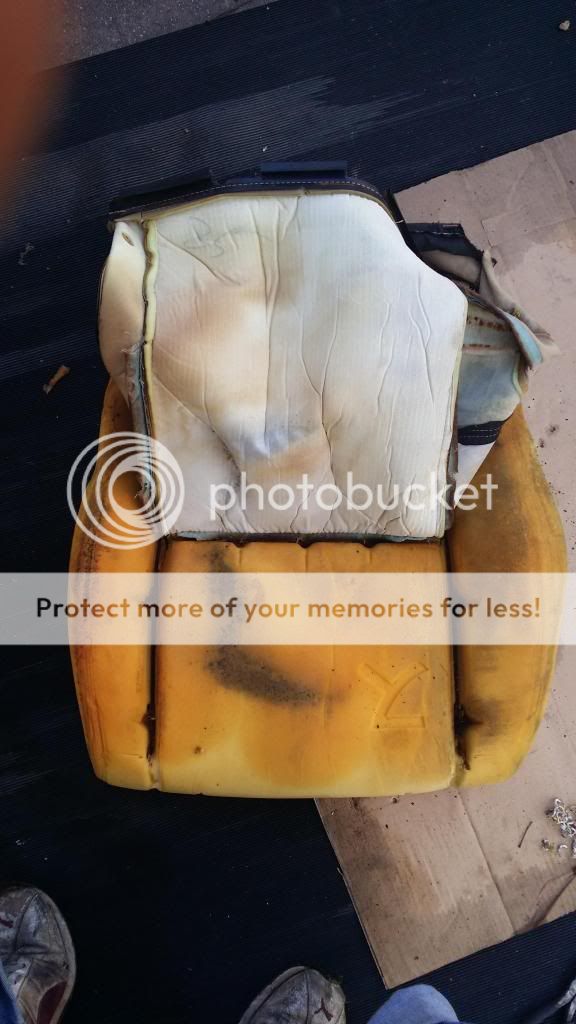
Once the middle rows are done, you should be able to remove the cover and have a naked cushion.
Now, go ahead and remove the other 2 halves of the seat plastics from the seat base.
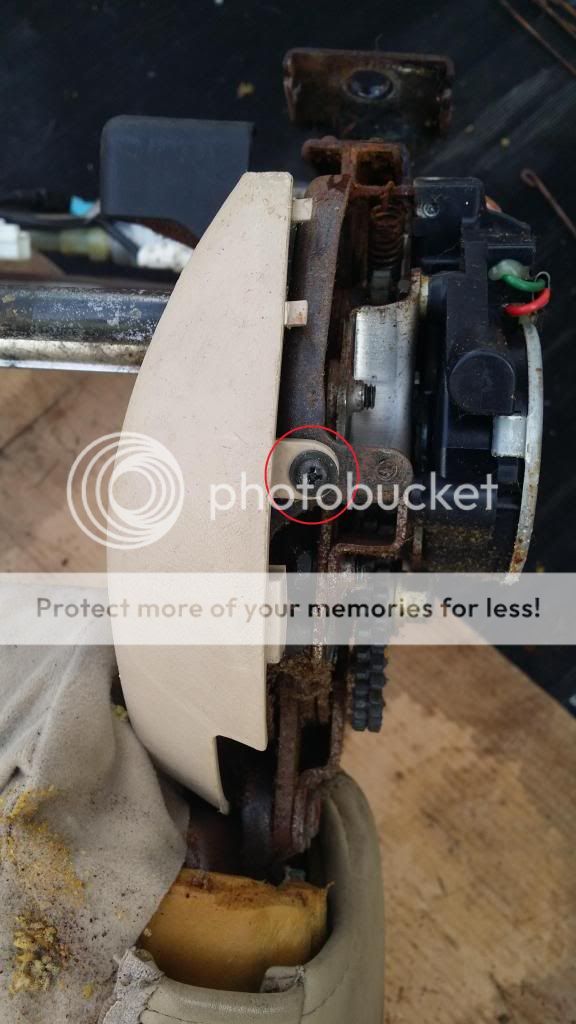
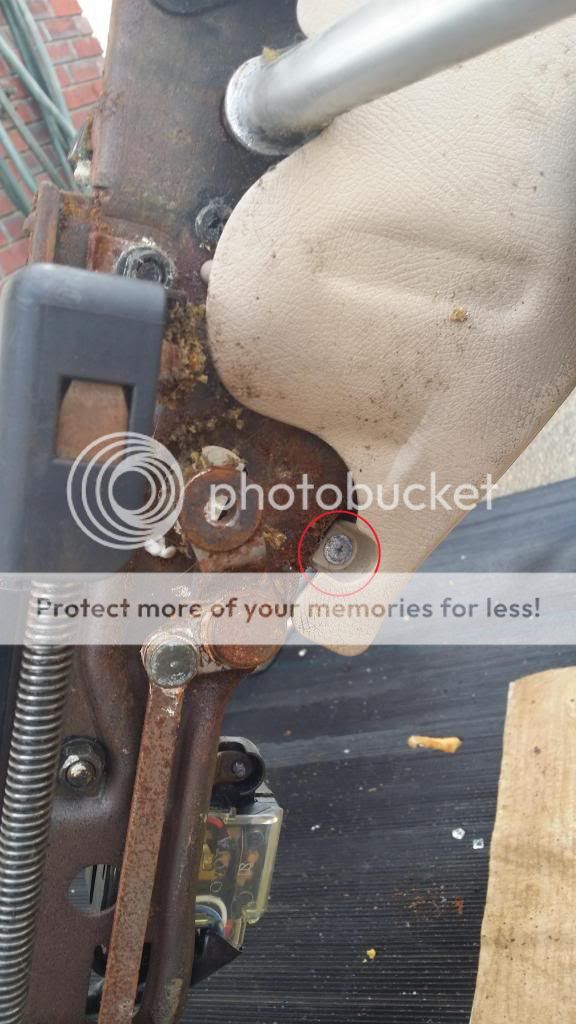
For the seat back, separate the 2 halves from each other near the bottom by unsnapping these 2 retainers from each other.
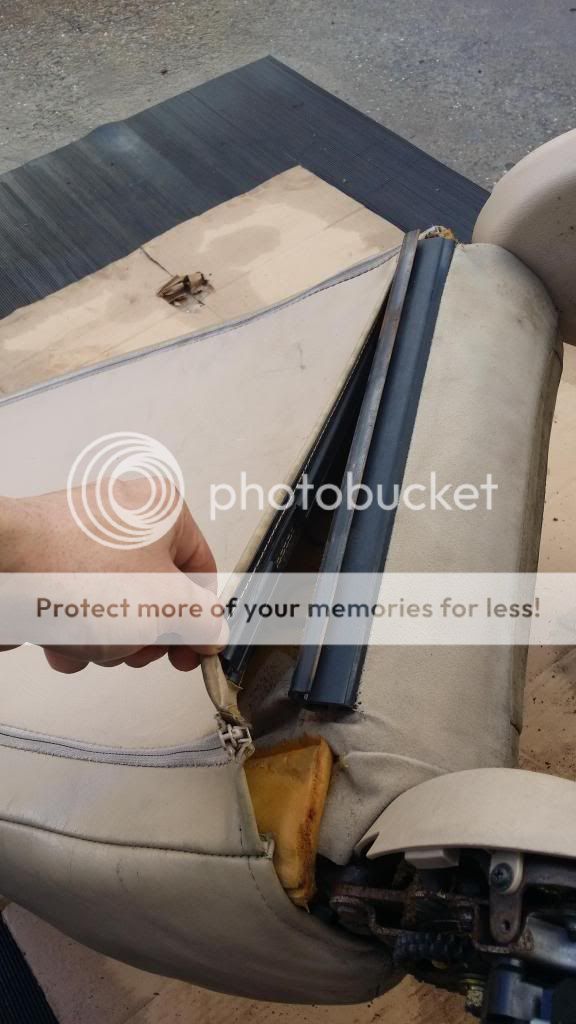
Unzip the back all the way up
If you have never removed the headrest, it is one of the most frustrating things ever! UNTIL, you figure out how easy it is, lol. You have to look way up near the top, but you’ll see a little button protruding from where the rods on the headrest go through. Simply depress this button while pulling the headrest and it will come off. You have to depress the button on both sides of the headrest.
Once the headrest is removed, you can flip the top and sides over to the front of the seat.
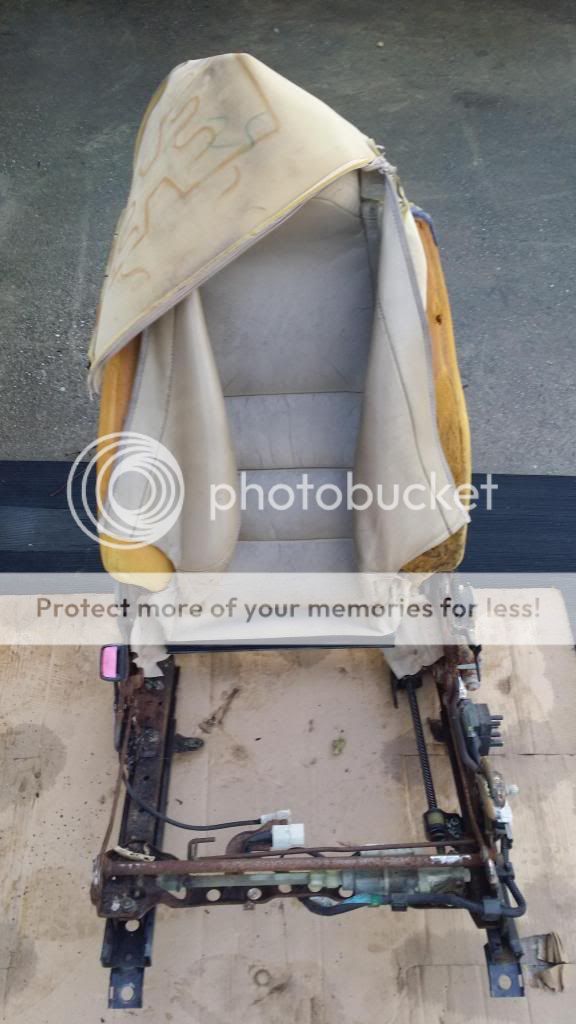
Now, you will do exactly like you did with the bottom cushion. Start with the sides and remove the hog rings. Once the hog rings are removed, pull out the rods from the channels in the covers and then do the middle rows. Here are all the hog ring locations for the seat back.
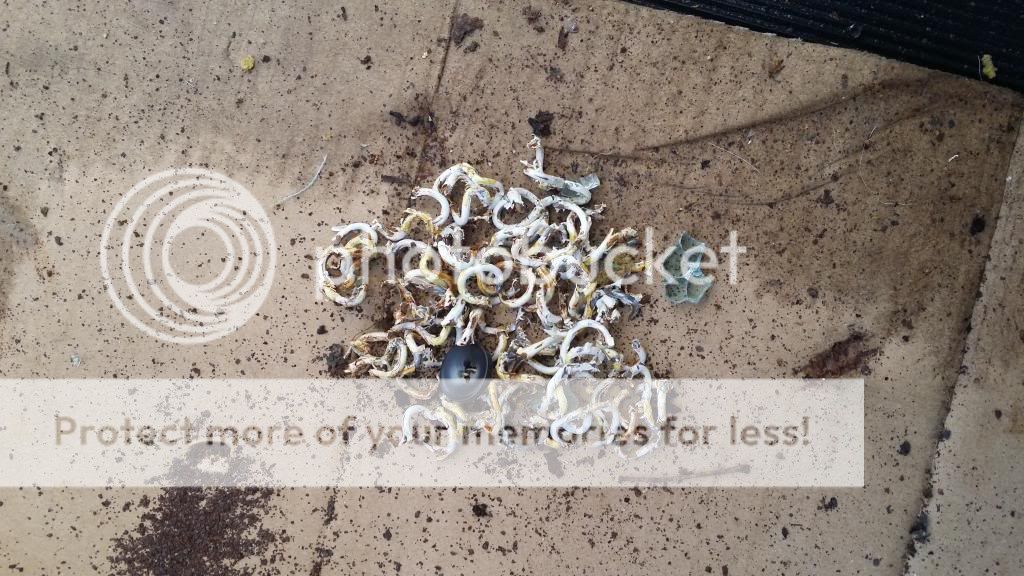
You should have a nice pile of these going by now!
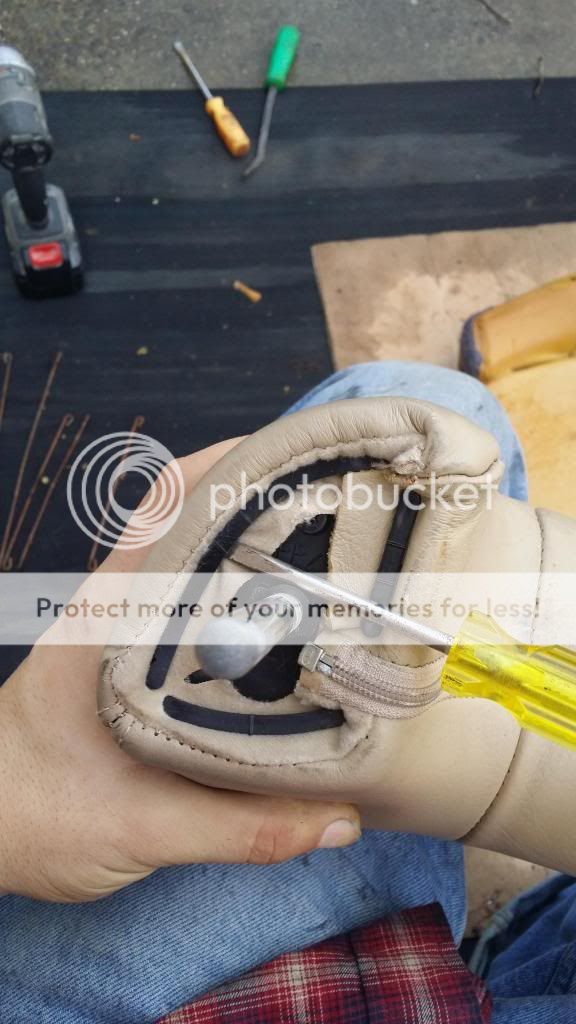
For the headrest, all you have to do to get the cover off is break (yes I said break) the black retainers, and unzip the cover. There is no way to save the black retainers, so don’t even waste your time. They are not required for the install of the new cover.
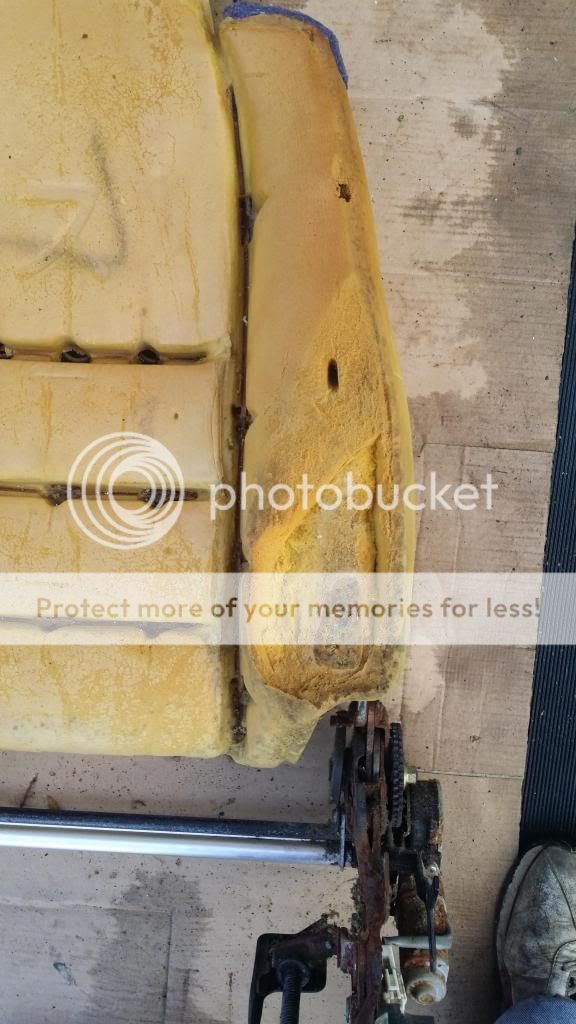
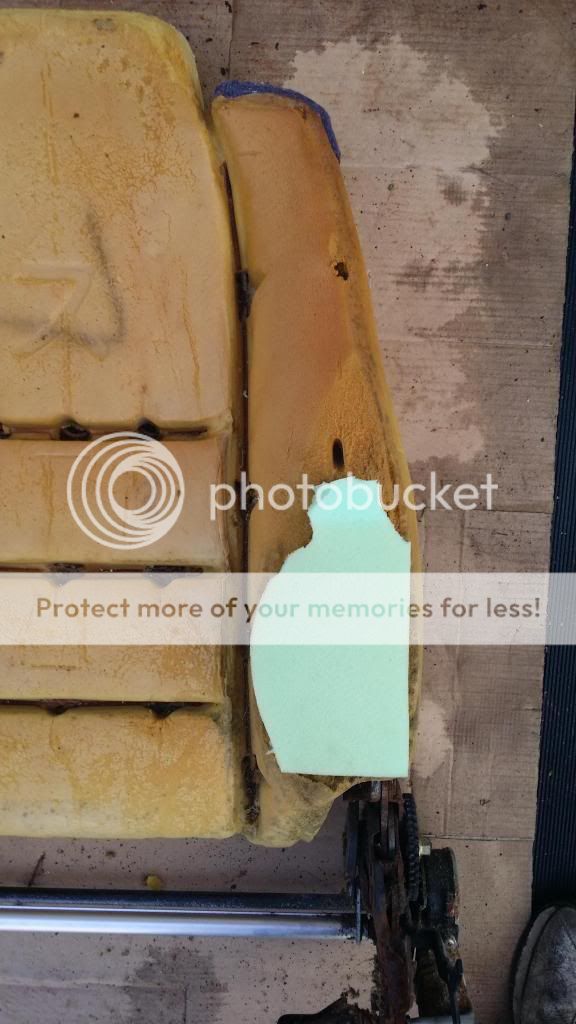
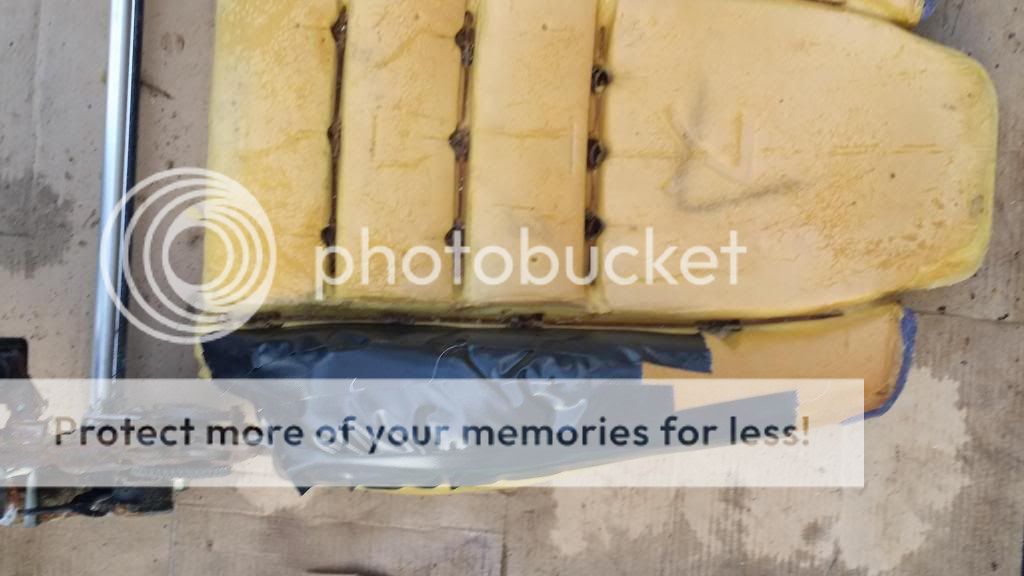
now, I had to do a little bit of repair work on my side bolster. You may think this looks shotty, but trust me, it works just fine and you would never know. The new covers have built in padding already which covers any small imperfections. You just wanna get the shape of the bolster back.
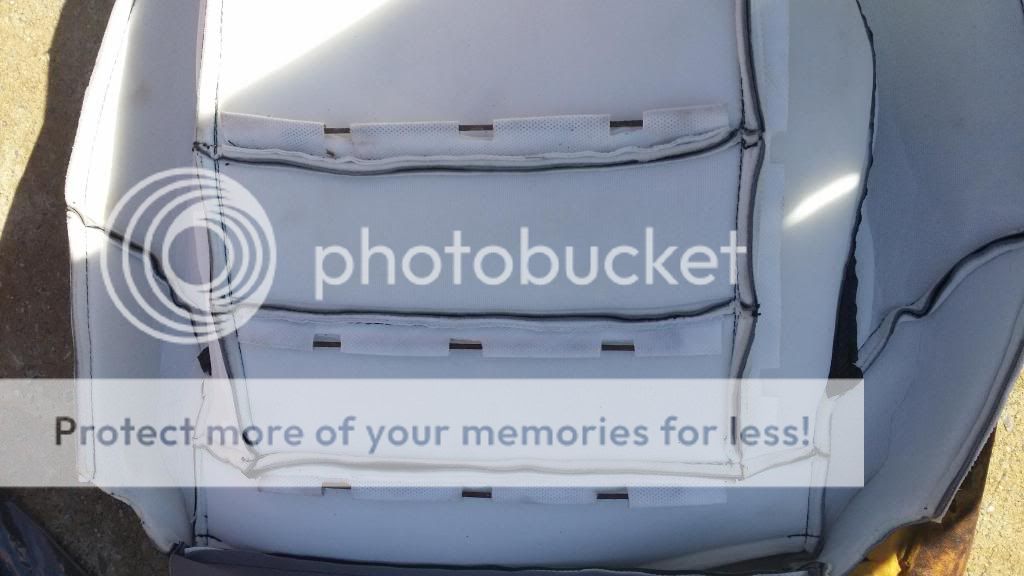
Now, on the new seat covers, they do not cut the “windows” in the rod channels on the bottom side of the covers, so you will need to do this. A simply razor blade will do, just be CAREFUL not to cut too much or into the cover itself. These 2 pictures will better describe what you need to do. Just make sure you have it lined up good when making your marks.
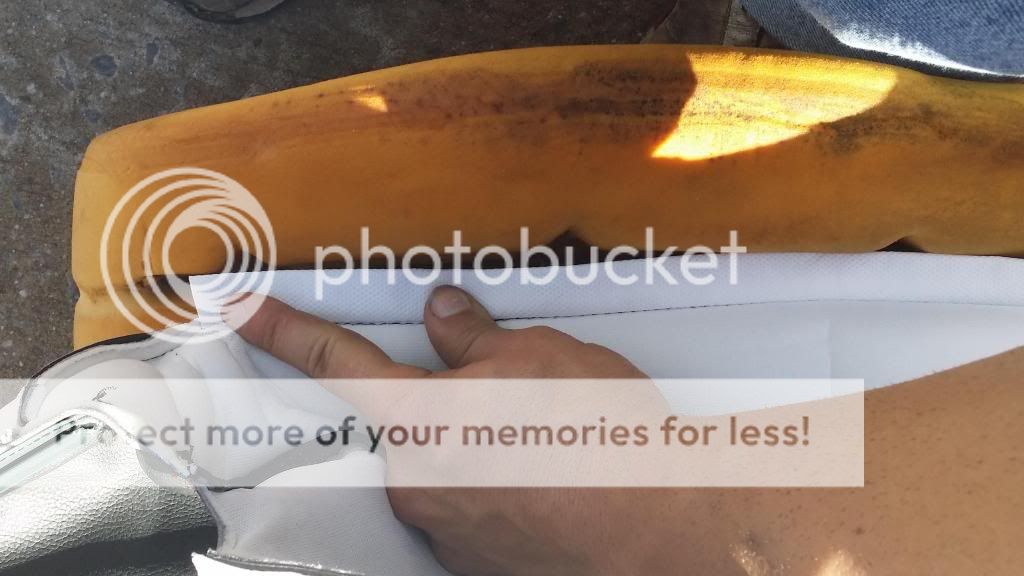
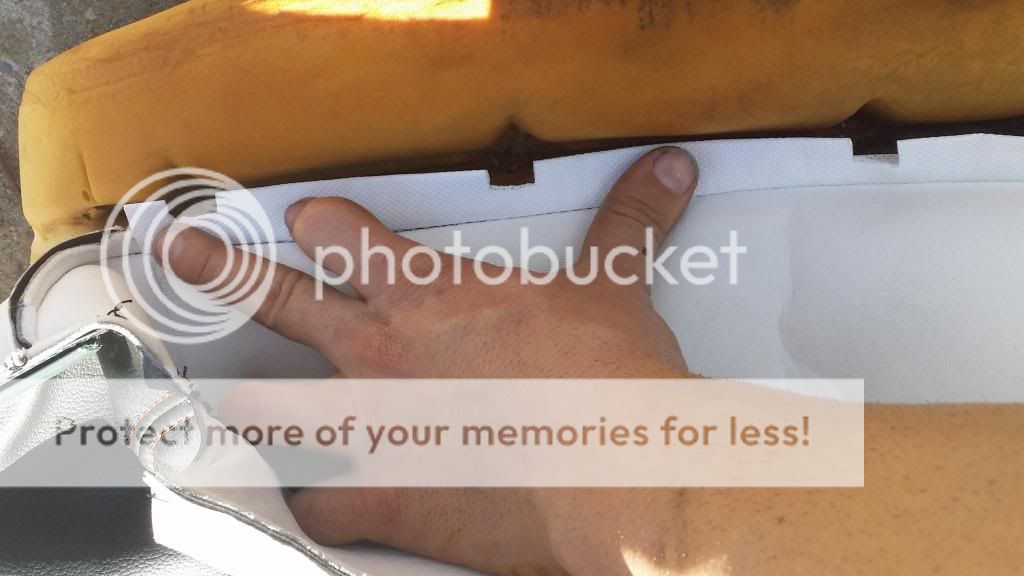
You will have to do that on all of the channels for all the covers. Time consuming yes, but it lets you fine tune the fitment of your covers. Once all the “windows” are cut into the channels, install the rods on the MIDDLE ROWS ONLY. You will do the side rods after the middle rows are fully secured down.
Here is where the zipties come in (instead of hog rings). Zip ties are MUCH easier to use, and do just as good of a job (if not better, because you can get them tighter) as hog rings. But if you feel like you wanna use hog rings instead, by all means go ahead. All you need is hog rings and a pair of hog ring pliers. I find them a pain as the hog rings like to fall out of the pliers when you are trying to get them deep down in the channels, not to mention takes way longer.
Anyways, go ahead and prep the middle rows of the cushions with zip ties. Simple loop the zipties underneath the rods built into the cushions like so.
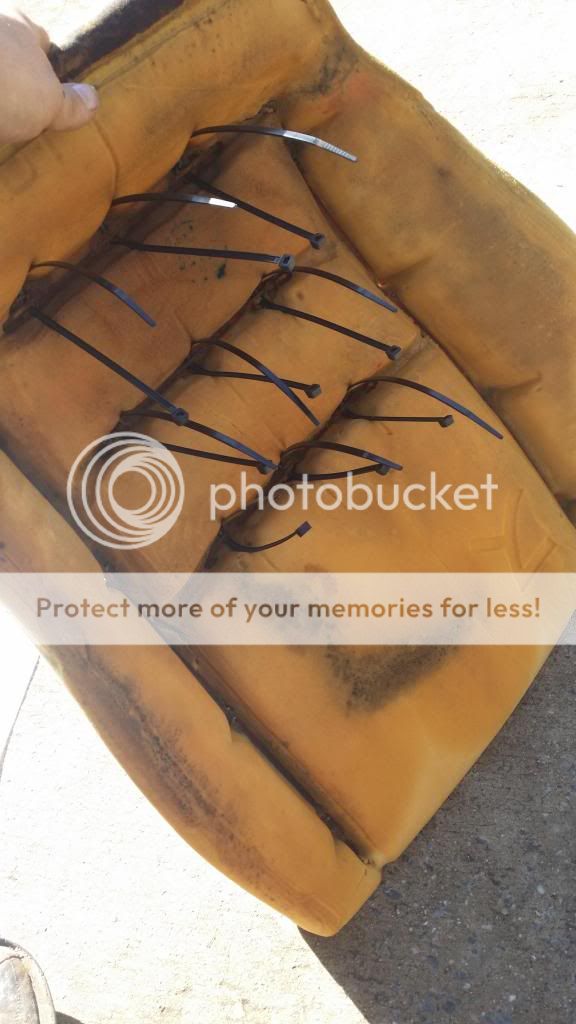
Now starting from the back and going to the front, do one row at a time tightening down the zipties through your cover. Take your time, make sure you get the rods on the cushion side deep down into the channel, and make sure the cover stays center on the cushion. You can always cut the zipties, and start over.
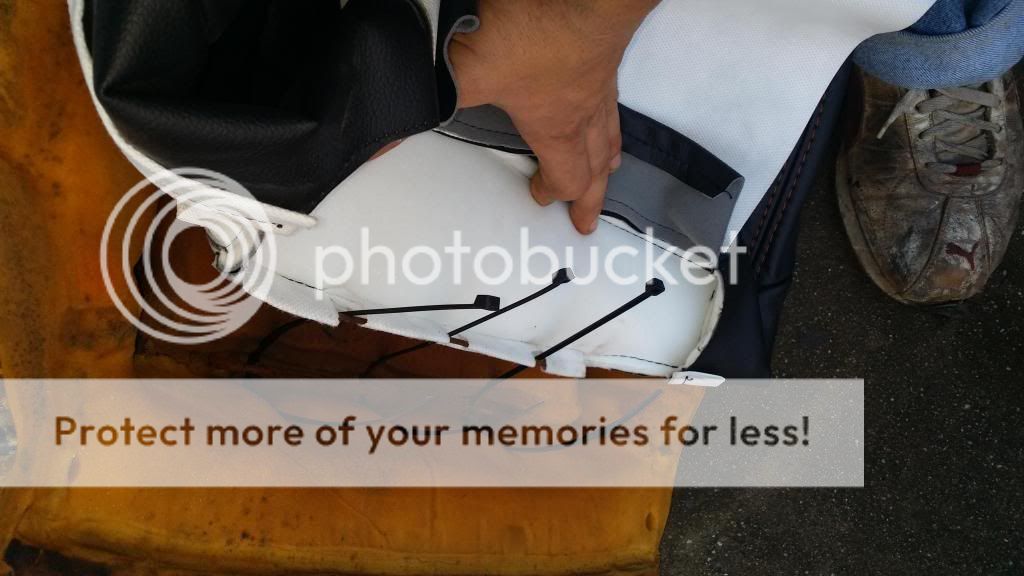
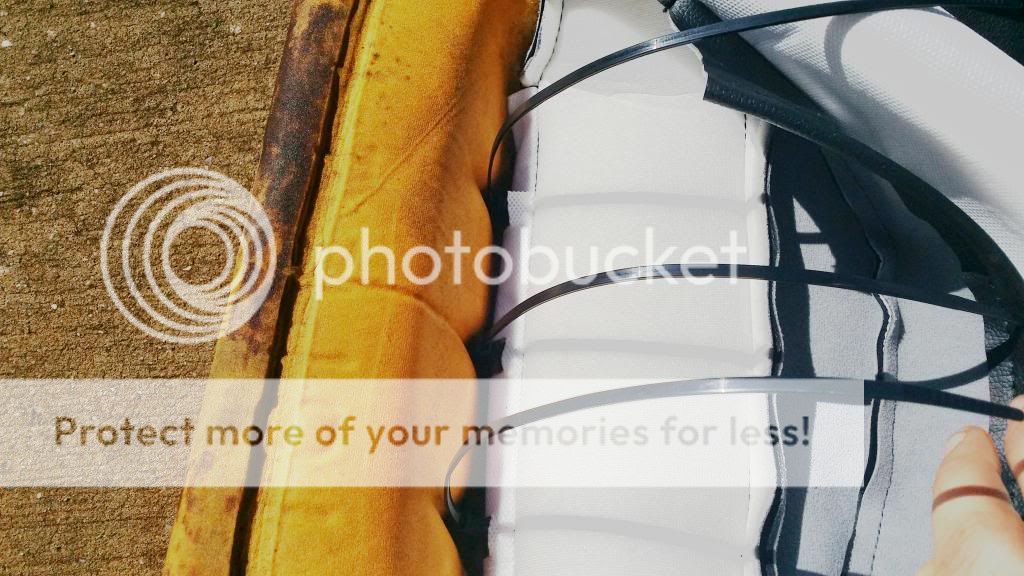
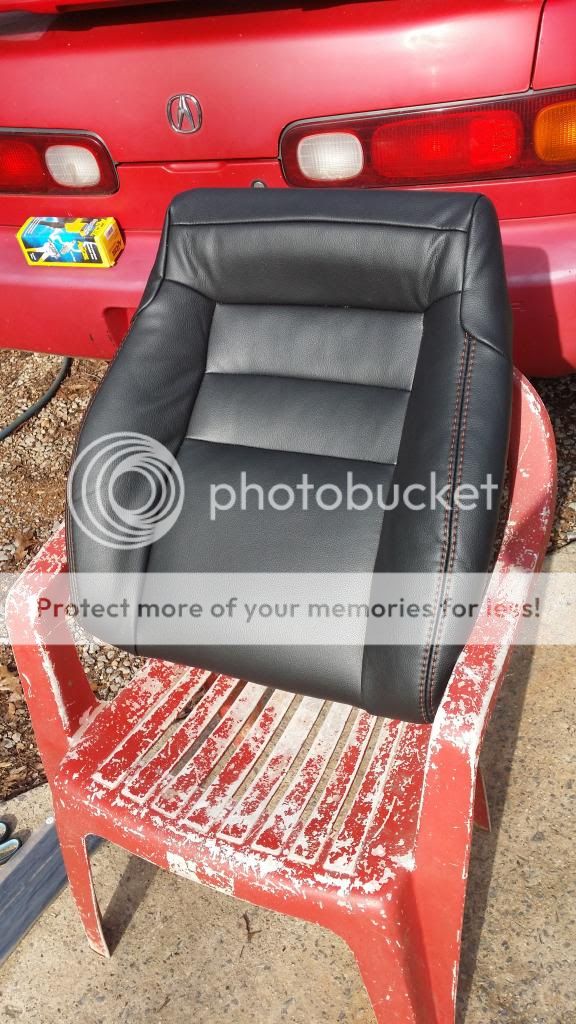
Cut the excess off the zipties, and then twist the ziptie downwards to where the locking head is facing down into the cushion. Once you are finished with the 3 middle rows, you can then install the side channel rods into the cover and proceed to tighten them down to the cushion. Needle nose pliers come in handy here to thread the zipties through the side channels. Once you are finished with the top, give the sides of the cover and good stretching all the way around, getting the wrinkles out. Pull all the sides and corners over the cushion and flip it over. Attach the retainers to the seat base at the front and re-install the 2 push clips. Then go around the edges and ziptie the cushion all the way around to the seat base. That will complete the bottom cushion and it should look like this. 
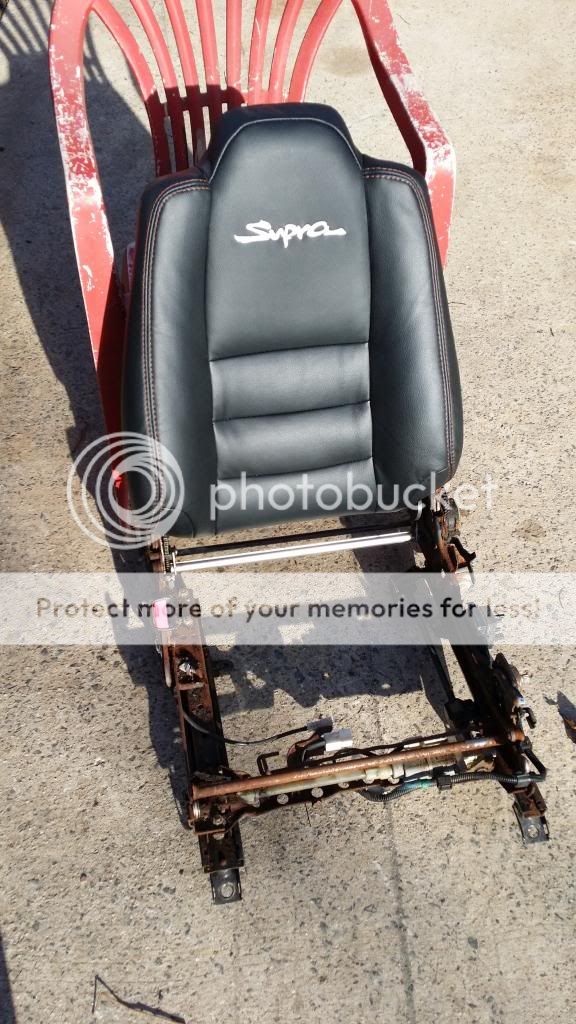
Repeat the same procedure for the seat back. Once all the zipties are done on the front and you have zipped the back down, you must latch the 2 retainers on each half of the cover. Admittedly one of the hardest parts of the whole job. It almost certainly requires 2 people to get the 2 halves attached to each other. One person will hold and stretch one, while the other person will have to hold and stretch the other just to get it far enough to latch them. Once that part is done though, you are finished with the seat back!
Take the bottom cushion again and feel around for where the 4 bolts have to go through to bolt it to the base of the seat frame. Once you have located the holes, take your razor blade and cut them out (or just do and “X” over the holes with the razor blade). BE CAREFUL not to cut too much. Once you have done that (and re-installed the inner seat plastics that you have painted to match your covers!!!), then you can re-install the bottom cushion to the frame with the 4 12mm bolts and re-install all of the seat plastics followed by the control knobs.
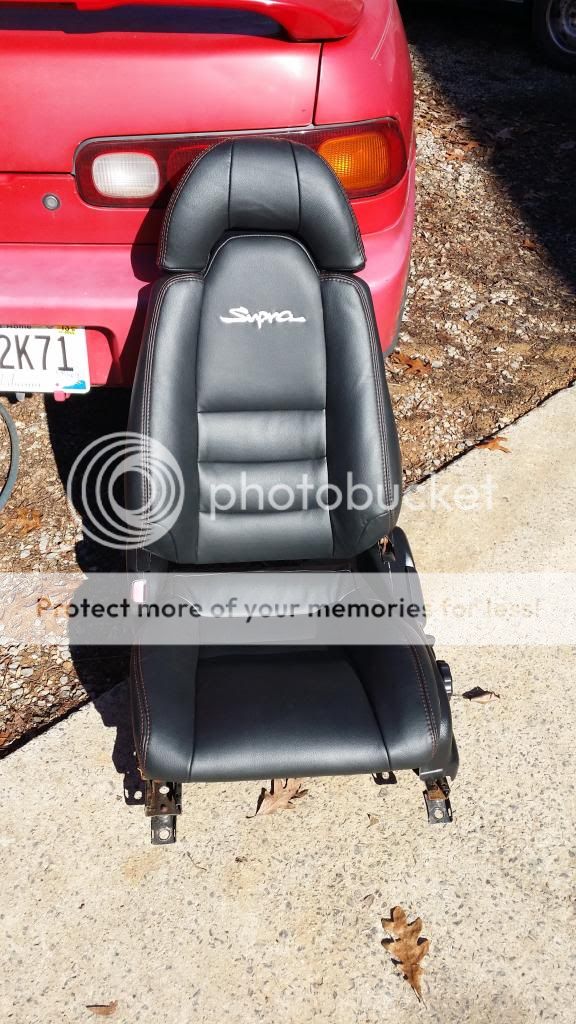
That leaves only the headrest which is simple enough. Slide the headrest into the new cover, and zip the 2 halves together. Again, this is like attaching the 2 retainers on the seat back, it takes some major stretching and finesse to get the 2 halves zipped together. Make sure the corners of the cover come all the way down over the plastic base. Again, feel around the top of the seat to locate the holes where the headrest poles go through and cut them out. Once they are cut, simply slide the headrest down onto the seat and take a step back to admire your handy work!
This mod truly makes a HUGE difference in the interior of your car! (of course I redid my dash panels and installed new carpet as well)
